

I have another clothing sewing project for you today, in the form of a DIY wrap skirt. The best bit, this is made using a free pdf sewing pattern!
I have been sewing for many years, however, I have been hit and miss with this, so I am by no means an expert. This past year I have gotten into sewing more clothing to update my wardrobe with lots of me-made items. So, I thought I would continue to share my sewing journey with you, and hopefully inspire you to either begin sewing your own clothing and accessories or re-finding your love for sewing.
So far this year I have made a few comfy types of clothing, with DIY Pyjamas, a DIY hoodie and DIY joggers. However, we are now in the Spring and will be coming into Summer shortly, which is where this DIY wrap skirt comes in! This is perfect for the transition of seasons from Spring to Summer. Just imagine, going for a picnic, and flouncing around in a beautiful field of flowers whilst wearing a gorgeous flowy wrap skirt. I present to you the Frankie Wrap Skirt for this project! It is also slightly Cottagecore, which is BIG at the moment!

The Frankie Wrap Skirt – Free pattern
Apart from the skirt being absolutely gorgeous, the best part is, the sewing pattern for the wrap skirt is completely FREE! Ok, the only price to pay is signing up for a newsletter, but your inbox will not be bombarded with emails so is definitely a win-win situation. The DIY wrap skirt of choice is ‘The Frankie Wrap’, and has the perfect blend of a longer wrap skirt, with the added detail of a ruffle. Made Label are the creators of this free pattern, and they have more amazing patterns on their website. The other patterns, you do have to pay for but are an extremely good price.

The instructions for the patterns is via video form, which is great for seeing the intricate parts of the skirt. However, sometimes you need to read the instructions as well as see them. Hopefully Made Label will be bringing out written versions, but in the meantime, the video is where it is at. I am hoping that this post, will help you make the skirt as well!
This isn’t sponsored in any way, but I definitely urge you to check out Made Label, their designs are just beautiful!
So, without further ado, here is how to make a DIY wrap skirt aka The Frankie Wrap Skirt!
Some links in this post are affiliate links. They will be marked with an asterisk (*), and mean that i amy earn a small amount of comission should you make a purchase through the link. this is at absolutley no cost to you!
DIY Wrap Skirt
To make this skirt, I am using a beautiful drapey fabric of viscose. Viscose is perfect for making skirts and dresses, as it is lightweight, but also adds drape to make the skirt just fall right. With this skirt having a ruffle around the edge, viscose is the perfect choice for this. The fabric I am using for this skirt is from Minerva, which have a great range of fabrics to choose from, as well as inspiration of what to make. This is a cream background with black polka dots on it. Who doesn’t love a polka dot?!
This fabric costs £5.99 per metre, and I believe you need just over 3 metres worth of fabric to make the skirt. I am making it in the AUS size 10, which equates to the UK size 10. As it is a wrap skirt, you may be able to get away with making it slightly smaller, however, I think this size fits perfectly for me.

Cutting out the Wrap Skirt Pattern
As this is a printable PDF pattern, you need to print and assemble it yourself. Now, you can send this to a professional printer to get it all on one large sheet (A0 size), however, printing at home is much easier. The files for the pattern come in various sizes, so after taking your measurements, you can print the size that you need only. There is no need to trace the pattern off, as it is all the correct size.
Follow the instructions and lines of where to attach each piece and secure it in place with sellotape. Then, cut around the outline of this to get your pattern piece. The waistband pieces are not printed out, and therefore, you have to measure these directly onto the material.
It is advised to measure and cut the waistband pieces first. This is because they are the longest part of the skirt, and you want to make sure you have enough material for them. Cutting them out before the rest of the pattern allows for this.
Once all the pattern pieces are assembled and cut, it is time to start assembling the DIY wrap skirt!

Sewing French Seams
For the most part, this skirt is fully made up of French seams or ‘frenchies’. A French seam is a great way of creating a neat finish to seams and is perfect for the types of material that fray. This method does take a little bit longer to complete, as you are essentially sewing the seam twice. The outcome is well worth it though!
To sew a french seam, you first have to place the material pieces wrong sides together and sew a seam. In this case, the wrap skirt has a 1 cm seam allowance. After this, you then trim the seam down by 1/2 cm. Then pressing the seam to help the stitches set, and press to one side. Next turn the fabric over to reveal the right sides, with the wrong sides facing together. Sew another 1 cm seam, ensuring that the original seam is within this allowance. Then another quick press and the French seam is complete.


You follow this method of seam sewing to attach the back panel with the two side panels. As well as this, sew the four parts of the frill together in this way. The final addition to the frill is the two end pieces.
I prefer to sew as much of the skirt in bulk as possible. So, sewing the back panel and side panels first initial seam. Then follow this with the first initial seams of the frill. After these, starting with the pressing of the seams process and then the final seam. Because we are sewing so many seams, batching them together like this makes it easier and does save time.
Sewing a Rolled Hem
The next part of the process is to finish the frill with a rolled hem. This can be one of the more difficult parts of making the skirt, especially if you are new to this type of hem. The difficulty comes with the curve of the frill and getting it to sit right. I have to admit, it took me a few attempts to get it right. Made Label suggest dampening the edge whilst pressing as this helps the material keeps its shape. Let me tell you, this does work and makes it so much easier to do.
So, begin at the outer raw edge of the frill and press towards the wrong side by 1/2 cm. Dampen the material if this is difficult or not keeping the shape, making sure the iron is on the highest heat possible for the fabric. Then, fold the edge another 1/2cm, pressing this into place. The original fold should be encased in the new fold, creating the rolled hem. Add any pins to help keep in place if you need to. Head to the sewing machine and sew a stitch as close to the inner edge of the fold, backstitching at the start and end. Take it slow and gently pull the material straight where required.


Finish the hem with a final press. If you find that there are crease or folds within the hem, pressing may resolve these issues. However, if this doesn’t, then you may have to unpick and re-sew the hem until it is flat. The outside of this hem will show on the front of the skirt, so you want it as neat as possible.
Attaching the frill
After hemming the frill, it is then time to attach it to the forming skirt. Fold the skirt at the back panel, lining up the two-panel seams. Make a mark with a water erasable pen* or tailor’s chalk* where the fold meets. This will be the centre of the back panel.
Then, find the centre point of the frill. Just fold the frill in half, and mark where this is. On my frill, this was right next to one of the joining seams.

Place the skirt piece down first and begin attaching the frill to the bottom edge of the skirt. Line up the two markings first, and then work outwards towards both ends of the frill and skirt. Use lots of pins to keep this in place, because the frill and skirt edge are incredibly long. You also want to make sure that the wrong sides are facing each other before sewing, because a French seam will attach the frill to the skirt. Complete the french seam as before and the skirt and frill are then attached.
Ease of the Frill
Now, in some cases (my skirt included), the frill can be longer than the skirt. This causes problems with attaching the two. One of the reasons this can happen is the material moving during the cutting out process. Luckily, there is a solution and this can be fixed.
Made Label has a guide on this, which I followed. Essentially we need to sew two rows of gathering/ baste stitches to help pull some of the frill in. This will help it fit.
Before sewing any stitches, we need to make a few more marks on the frill and skirt piece. We have already taken the marking for the halfway point of the skirt and frill, but we also need the quarter-point too. So fold the skirt and frill in half again (after already folding in half) to get this point and mark.
Then head to the sewing machine and sew on the largest stitch available (basting stitch) 1/2cm away from the raw edge of the frill. Don’t backstitch, just sew one line of stitching. Under this by 1/2cm, sew another line of basting stitches. Also, make sure that you have a long length of the thread at the start and end of the stitch.
Then line up the halfway and quarter-way marks of the skirt and frill, pinning them together wrong sides facing. Once this is in place, if the frill still has excess it is time to gather. Select the top two threads only and gently pull. This should start gathering the material. Keep gathering until the halfway and quarter-way marks line up exactly. The materials should sit fairly flush to one another, without any folding/puckering. Then, complete the stages of attaching with a French seam. See the video below for this (I forgot to take pics, sorry!)
Sewing the Tie Opening
The DIY wrap skirt is really taking shape, but we need to add the waistband and tie to really finish it off. The first thing to do is to join the two smaller waistband pieces. Complete these with a ‘Frenchie’ as before. Once this is done, select one end and place the longer part of the waistband on top, lining up the raw edges. We are going to create the tie opening part of the skirt.
This part can be a little confusing but comes together nicely. Use a measuring tape and from the top raw edge, mark down the strip 2cms. Carry on marking down 2cms until you reach the other edge. You should have a total of 4 2cms marked. Mark 1.5cm in from the edge and use a ruler to help draw a straight line. Draw a line between the raw edge at the top and the first 2cm interval. Skip the next 2cm interval and draw a line through the middle two intervals. Skip the next interval and join the next 2cms with the raw edge at the bottom. See the picture below if this is confusing!

Then it is time to sew these together. Backstitch the start and end of each interval for added durability to the opening. Sew along each of the marked intervals, skipping where there is no mark. Open this out and press the seam flat. Test it out by folding lengthways and seeing if the two openings meet up to create one opening.


Sewing the Waistband
Line up the opening part of the waistband where the back panel and side panel seam is. You want to make sure the longest part of the waistband is going over the longer part of the skirt (back and side panel). On both sides of the skirt, the waistband will continue, therefore we need to create a marking. Where the skirt ends on the waistband, measure and mark 6cm from this point. Repeat on the opposite side, again 6cm away from where the skirt ends.

Fold the waistband in half widthways right sides together and press. You can also use pins if needed to keep the two halves together. At the end of each side of the waistband, cut a 45° angle from the bottom edge towards the folded edge. Then begin sewing 1cm in from the edge, starting at that 6cm mark to the now angled edge. Place the needle down when you get to the angle, lift the presser foot and turn the material in the direction of sewing. Place the presser foot down and resume sewing. Remember to backstitch at the start and end of this stitch.

Cut the corner of the point, not cutting through the stitching and turn the waistband right side out. Push the corners out and press this so the waistband is laying flat.
Where the open part of the waistband begins, press both raw edges to the wrong side by 1cm. Do this all the way along until you meet the closed end of the waistband.
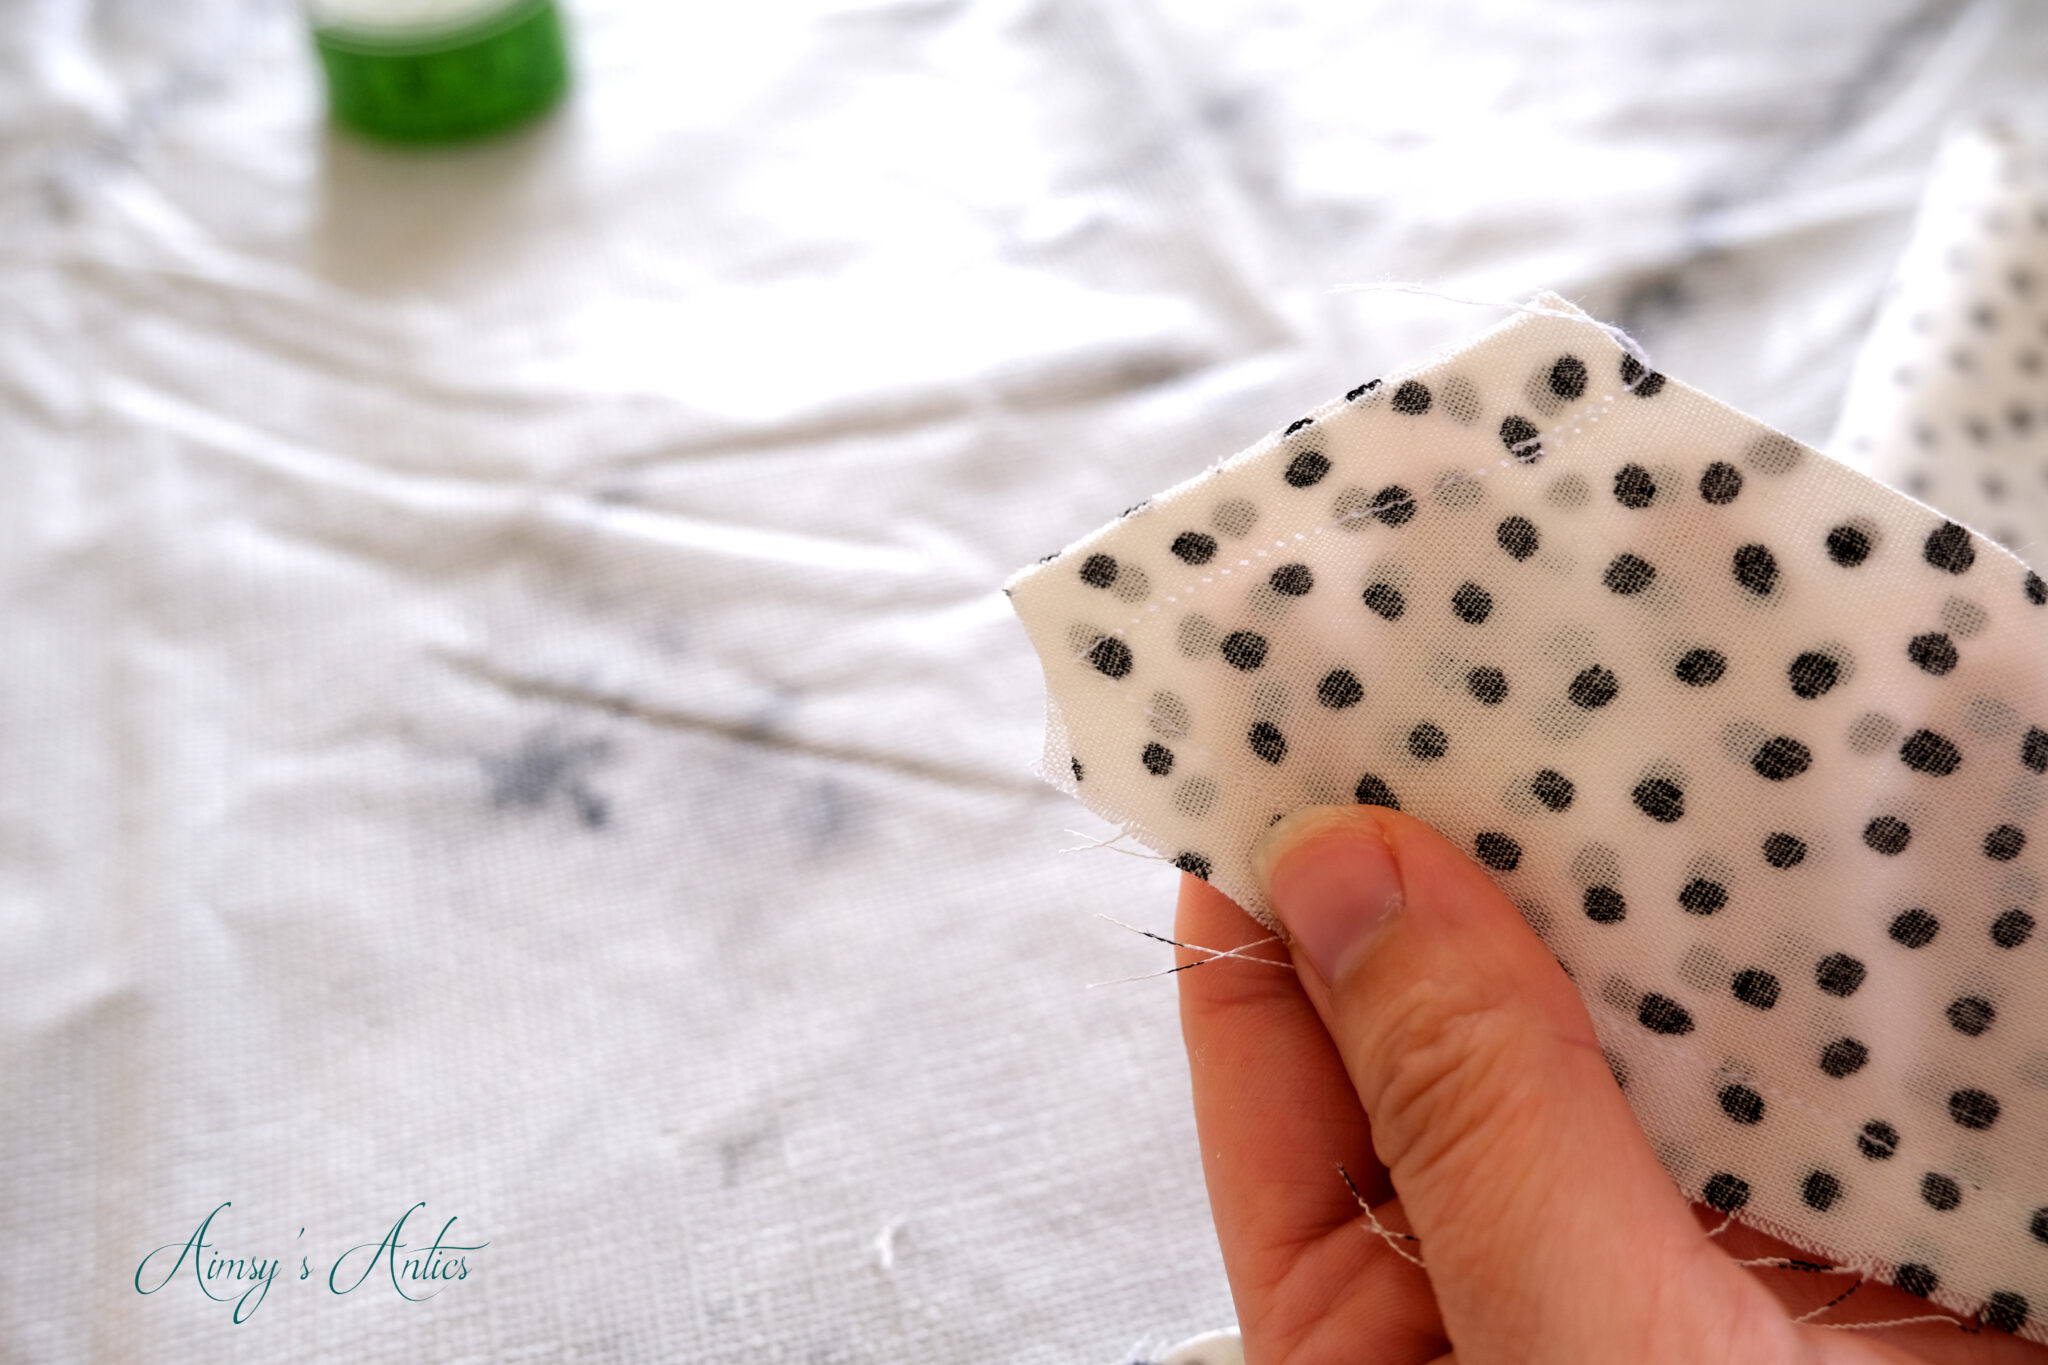

Attaching the Waistband to the Skirt
Where the tie hole of the waistband is, line up to the back panel and side seam as before. Unfold the 1cm pressed edge, and line this up with the raw edge of the skirt. Keep the remaining folded edge down from the skirt. Make sure that the right sides are together with the wrong side of the waistband facing you. Pin all along the raw edge, and sew 1cm down from the edge. Sew along the waistband and skirt, until you get to each opening.

Next, fold the waistband in half, so the open raw edge meets the other side of the skirt raw edge. You may see that the folded edges unfold to allow you to do this. The waistband tie opening should line up neatly. Place a pin along this edge. The waistband should be forming now, and all the raw edges will be inside this waistband. Hope that makes sense! Before sewing, mark a rectangle around the tie opening.

Now, begin on one end of the tie and sew along from this until you reach the other end of the tie. Make sure you capture all the raw edges inside. This stitching should sit on top of the stitch that was done for the initial part of the waistband. Then the waistband should be attached to the wrap skirt and the skirt is nearly finished!

The final thing to do is sew a rectangle around the opening where it has just been marked. Press the seams of the waistband as well as a final press of the skirt. Then the DIY wrap skirt is complete and ready to wear!


What do you think of this DIY wrap skirt? Have you made one, or would you like to make your own? Let me know in the comments below!
DIY Wrap Skirt Video:
Here is the video of the DIY wrap skirt being created. Don’t forget to give the video a like if you have enjoyed it, and don’t forget to subscribe to my YouTube Channel. I share all my makes in video form over there to inspire you too!
Pin it & Share!
If you have enjoyed this post, then why not share the love by pinning it for later?! You can also check out my Pinterest for more creative inspiration.


There will be lots more sewing projects to come onto the blog, so be sure to be subscribed to receive updates! If you sign up for email alerts, you will also get a FREE crafty project planner to help you plan your future projects!

This is yet another beautiful project from you Aimsy – and possibly my favourite so far! I love this kind of skirts, even if they do not do my body any justice giving I am a short lady, but the print and cut and frills of it all it’s too good to pass for me!
Aww thank you so much. I am so happy with how this turned out. There is always that little moment of dread where you think, is this going to look handmade (in a bad way) or not?! Oh, I am short too at 5ft3 so I am sure you could definitely pull this off, you can always alter the length anyway! The polka dots are just ahah!
Thanks for commenting and glad you liked it!
Aimsy xoxo
Such a cute skirt!! Loved watching the video x
http://adventuresinmay.blogspot.com
Aww thank you! I haven’t had the chance to wear it out and about, but can’t wait until I do.
Glad you like it and thank you for watching the video too!:)
Aimsy xoco
This skirt is beautiful and it really suits you, thanks so much for sharing!
Katie | katieemmabeauty.com
Aww thank you. It is great for twirling about in haha!
Thanks for commenting and I am glad you like it 🙂
Aimsy xoxo
I absolutely love this skirt and it looks amazing on you! You really are very talented. Thanks for sharing!
Glad you like it and thank you so much! I am impressed with how it turned out, as I did have a few problems initially with the hemming!
Thanks so much for commenting 🙂
Aimsy xoxo
Ooh this is such a pretty skirt, and perfect for summer 🙂 thank you for sharing x
Aww, thank you! Definitely perfect for summer!
Thanks for commenting!
Aimsy xoxo
I LOVE wrap skirts and have made three so far, in different cloths from a green and white one to a dark blue one with black swirls that is still my favorite. The fabric you use here is delightfully eye-catching, as is the fall of the skirt! I made the mistake of using buttons on the waistbands of my skirts instead of ties, so your design is without doubt a superior one I will be saving for future use. I still have some yellow and red cloth I need to utilize.
I have never really worn wear skirts before, but I am in love with them now! They are just so flattering, aren’t they?
Oh, the viscose material has a beautiful drape so is perfect for a skirt like this, or even a dress. I think it is one of my favourite fabrics to work with…I have a few more projects planned with viscose!
Do try out this pattern, it takes a while to sew because of the french seams and rolled hem, but totally worth it. The tie part isn’t as complicated as it looks either, and means you can alter the size of the skirt slightly. A winner if you wear it out for a big meal haah!
Thanks for commenting 🙂
Aimsy xoxo
Wrap-arounds are perfect for dinner parties.
Oh, definitely!
Wow the skirt looks amazing! I am not great at sewing, but seeing this makes me really want to learn. Thanks for sharing!
Aww thank you! I am by no means the best sewer, but I am so happy with how this turned out. I am sure you can recreate an equally stunning skirt! Glad you liked it 🙂
Aimsy xoxo
I can’t believe you made this! This skirt is so beautiful! Well done!
xoxo
Lovely
http://www.mynameislovely.com
Aww, thank you. I love how it turned out…I can’t quite believe I made it either haha!
Thanks for commenting 🙂
Aimsy xoxo
Wow, you look stunning! This skirt is gorgeous and something that I would consider purchasing for the summer. I have been looking for a skirt that looks like this. The fact you can make one and have it look so good is amazing! Thank you for sharing! Em x
Aww, thank you so much Em! I can’t quite believe that it turned out so good, and doesn’t look the typical handmade item (if you know what I mean). It is such a great sewing pattern, and the fact that it is free too, winner! If you are into sewing, then I would 100% recommend this pattern, because you get a wonderful skirt from it, but also learn lots of different techniques.
Thanks so much for commenting 🙂
Aimsy xoxo
OMG first off, WOW you are such a babe! Stunning! I love this wrap skirt! Sooo cute. One of my fav articles of clothing is a floral wrap skirt! I have yet to sew my own clothes but I want to one day! Thanks for sharing xx
Lynn | https://www.lynnmumbingmejia.com
Aww, thank you so much, Lynn! I can’t believe that it turned out as well as it did, but I can’t wait to wear it out and about!
I haven’t really worn wrap skirts before, but now I am totally in love with them haha! I highly recommend trying this pattern if you do attempt making your own clothes. It has so many different techniques in it, that will translate into other clothing pieces!
Thanks so much for commenting 🙂
Aimsy xoxo
It’s fascinating to see the process of making such a beautiful skirt step by step! Sewing has always intrigued me and I’m so happy to have found this. I might take up a sewing course to find something interesting to do in my free time. <3
http://www.couture-case.com/
There is something magical about turning a blank piece of fabric into something wearable, isn’t there?
Glad you liked it and the process of how it was made. I would highly recommend taking up sewing, there is so much you can make with this skill!
Thanks for commenting 🙂
Aimsy xoxo
Your skirt look amazing. I like that style and I would like to wear it. Thank you for sharing process of making.
New Post – https://www.exclusivebeautydiary.com/2021/05/dior-rouge-458-paris-988-rialto.html
Thank you so much, glad you like it! Wrap skirts are really flattering, aren’t they?
thanks for commenting 🙂
Aimsy xoxo
I love it, that is just so lovely!
Danielle | thereluctantblogger.co.uk
Aww thank you! It turned out so well, and I am glad that it is wearable haah!
Thanks for commenting 🙂
Aimsy xoxo
Wow you are SO talented!! The skirt looks amazing 🙂
have a great start in the new week,
Tiziana
http://www.tizianaolbrich.de
Aww, thank you! I am so impressed with how it turned out…I have a dress from the same pattern designers, so keeping fingers crossed it turns out just as well! Hope you have had a fabulous week, and it goes on into next!
Aimsy xoxo
You did an amazing job with this skirt! It looks absolutely beautiful & it is perfect for the warmer weather!
Thank you! I am glad you like it…I can’t wait for the sun to make an appearance so I can wear it!
Thank you for commenting 🙂
Aimsy xoxo
I love how this looks, but in order for skirt to end at mid calf I need to shorten it by 5″. Shortening the skirt body is straightforward, but how do I adjust frill?
I am not 100% sure how to shorten the frill, but I know that it was around the same length as the pieces put together. I would maybe measure the skirt once the 5″ is removed (or pinned up), and then pin the frill to this, removing the excess from the fril. Not sure if this is the right way though, sorry! Just make sure you take into account the french seams, although this shouldn’t alter the size of the seam allowance.
Hope that helps!
Aimsy xoxo