

Looking for some party decor inspiration? Well, look no further than this DIY post, where I show you how to make a cute baby shower sign. Perfect for adding a bit of cuteness to a baby shower!
Oh, Baby! I am back with another decor DIY in today’s post. One that is perfect for adding to a baby shower with this cute DIY baby shower sign! This lovely little sign adds a pop of cuteness to any baby shower decor and is super easy to make yourself.
We threw my friend a baby shower (sticking to the outdoor distancing rules) the other week and this is one of the decor pieces created. It looks so good next to the other baby shower items and is really easy to make. This sign can also be customised to suit other events, such as a wedding welcome sign. I have previously made a DIY Floral Arch and a DIY Paper Flower Wall, which will also be a perfect addition to the party decor!

The basis of this baby shower sign is an acrylic blank. This is perfect because acrylic paint and vinyl adhere really well to the acrylic blank. You can get acrylic blanks in all sorts of shapes and sizes to really suit whatever theme you choose. It is also another chance to have a go at designing with and using a digital cutting machine. I am using a Silhouette Cameo 4, but I am sure this tutorial will transfer to using a Cricut machine too. It is basically a painted acrylic sign with added vinyl decals to contrast the paint.
So without further ado…Let’s get crafting!
Oh, Baby! DIY Baby Shower Sign
You do not need lots of tools or items to make this baby shower sign. However, you will need something to cut out your vinyl with. That is why I am using my Silhouette Cameo 4. This makes it so much easier to customise your design, so I will show you the process I used to create this cute sign.
Some items on the list below may be affiliate links. This means that I may earn a small amount of commission should you make a purchase through the link. this is at no extra cost to you and will be marked with an asterisk (*).

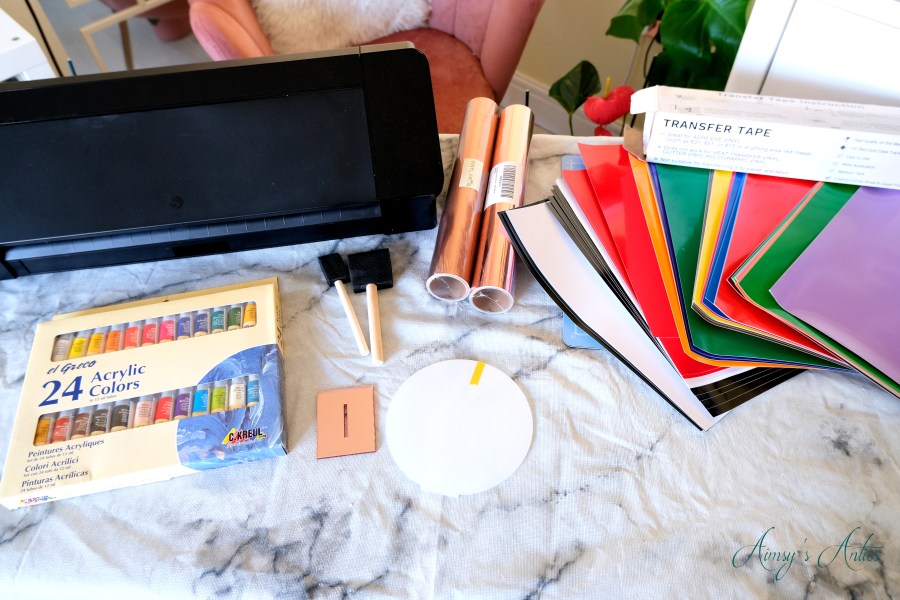
You will need:
- Acrylic Sign Blank – I bought mine from this supplier in the UK (not sponsored). I opted for the clear with a mirrored stand.
- Acrylic Paint*
- Silhouette cameo 4 (or any other digital cutter)
- Adhesive Vinyl (colour)*
- Adhesive Vinyl (Metallic)*
- Transfer Tape*
- Sponge Paintbrushes*
Step 1 – Prepare Base
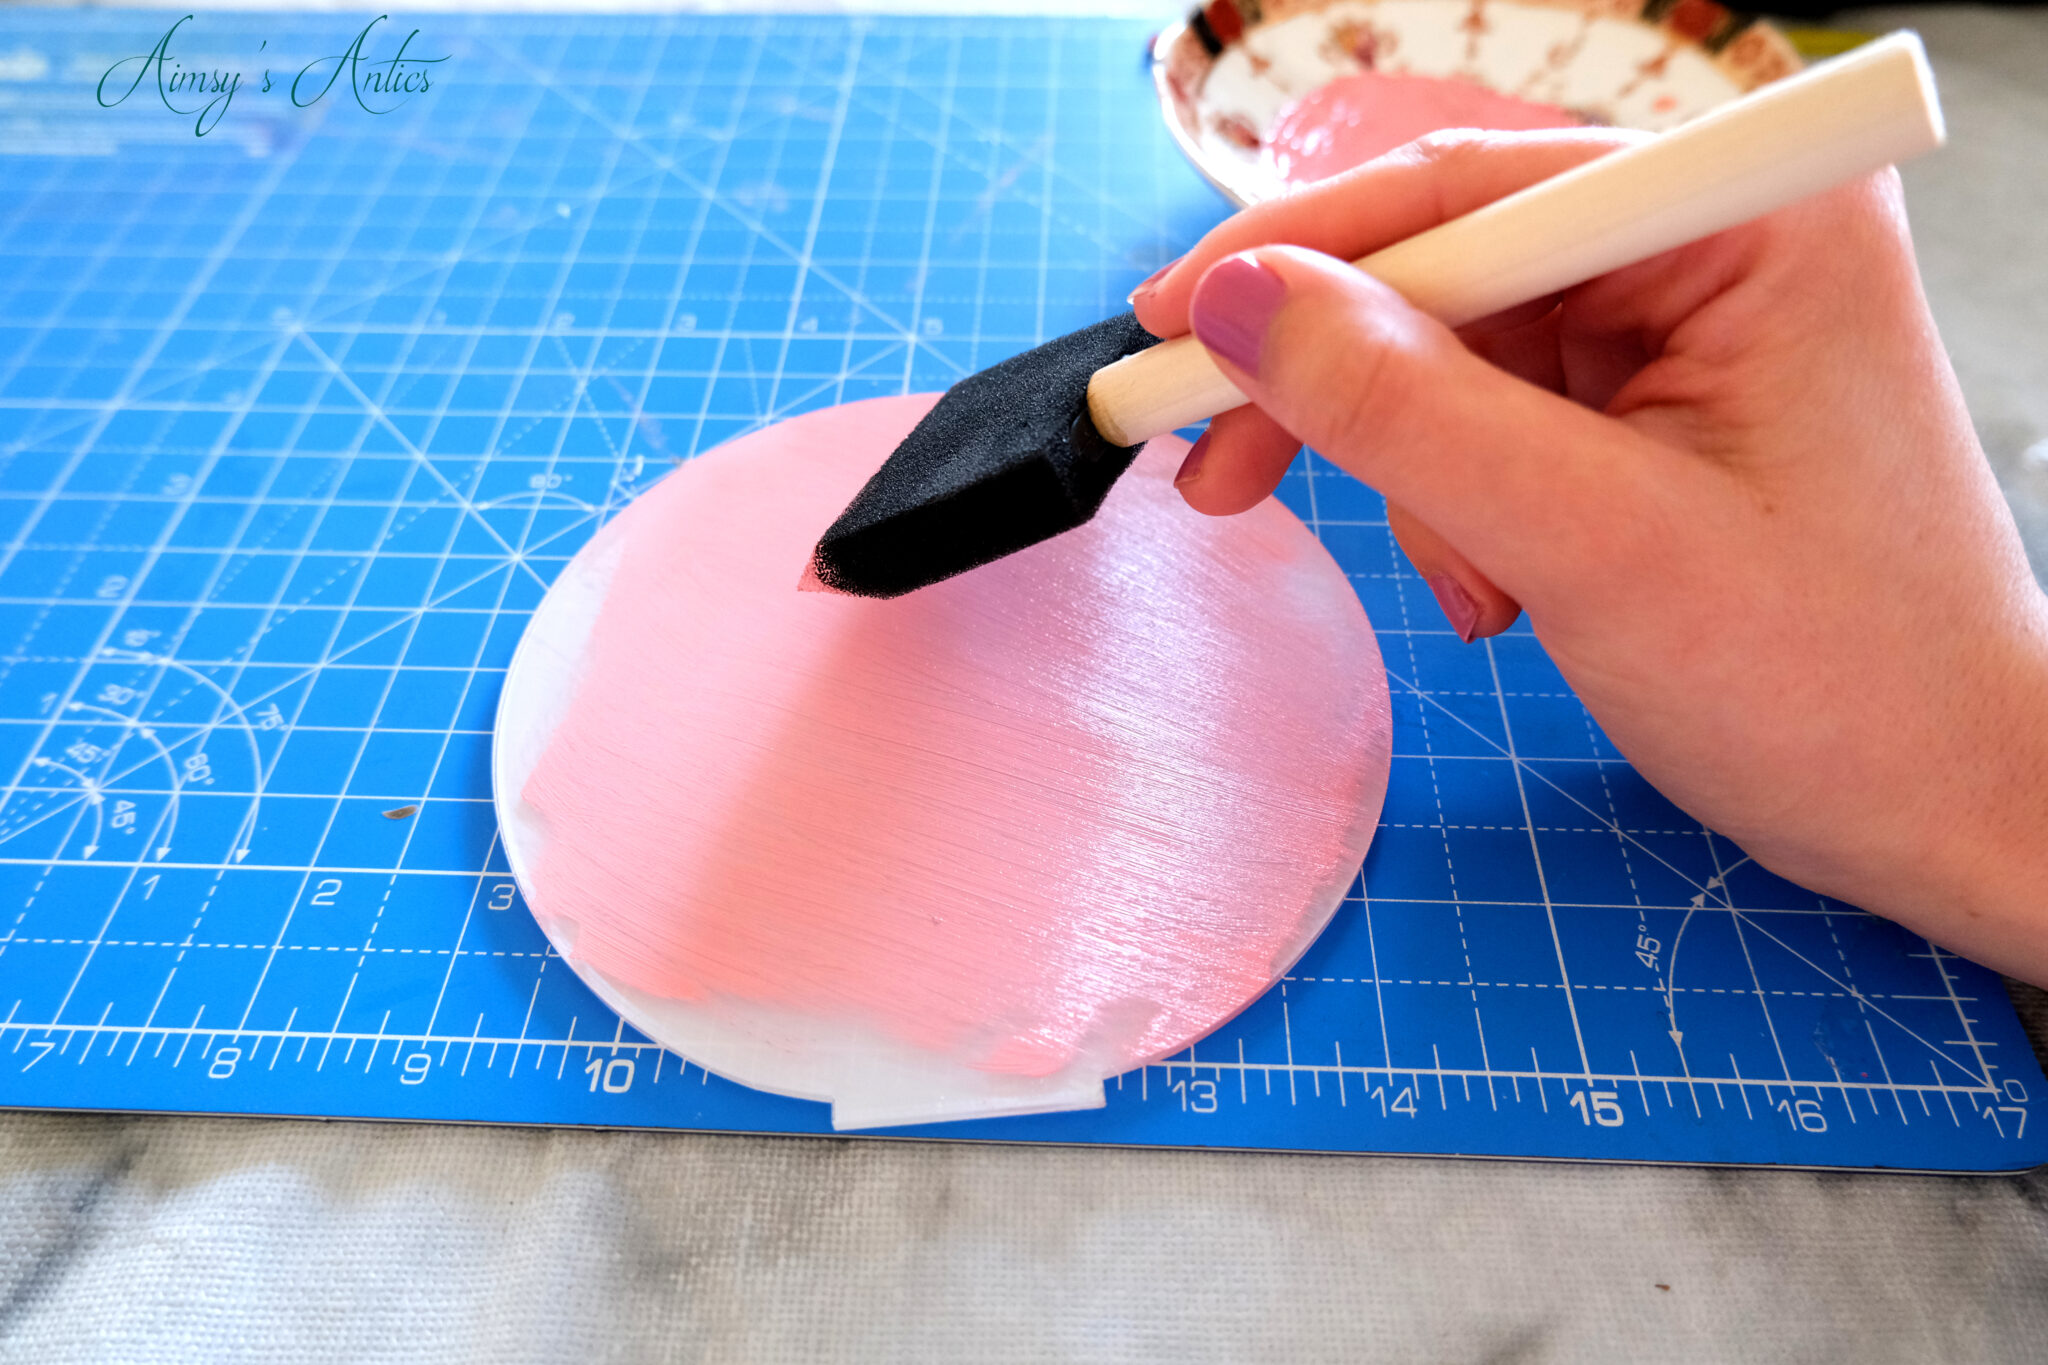
The first thing to do is create the base for the sign. For this part, you will need the acrylic sign blank, acrylic paint and the sponge/foam paintbrushes. It is best to already have an idea of the colours you want to use and the baby shower theme. Our theme was baby pink with elephants, so I will show you this.
Remove the backing on the acrylic sign from one side only. This is placed on to protect the sign from scratches, so you want to leave it on the other side until it is ready to be added to.
Select your chosen acrylic paint colour or colours. I mixed a few colours (antique rose, magenta and white) to get a baby pink/peach colour from the set linked above. Mix these to create the shade you want for the sign.

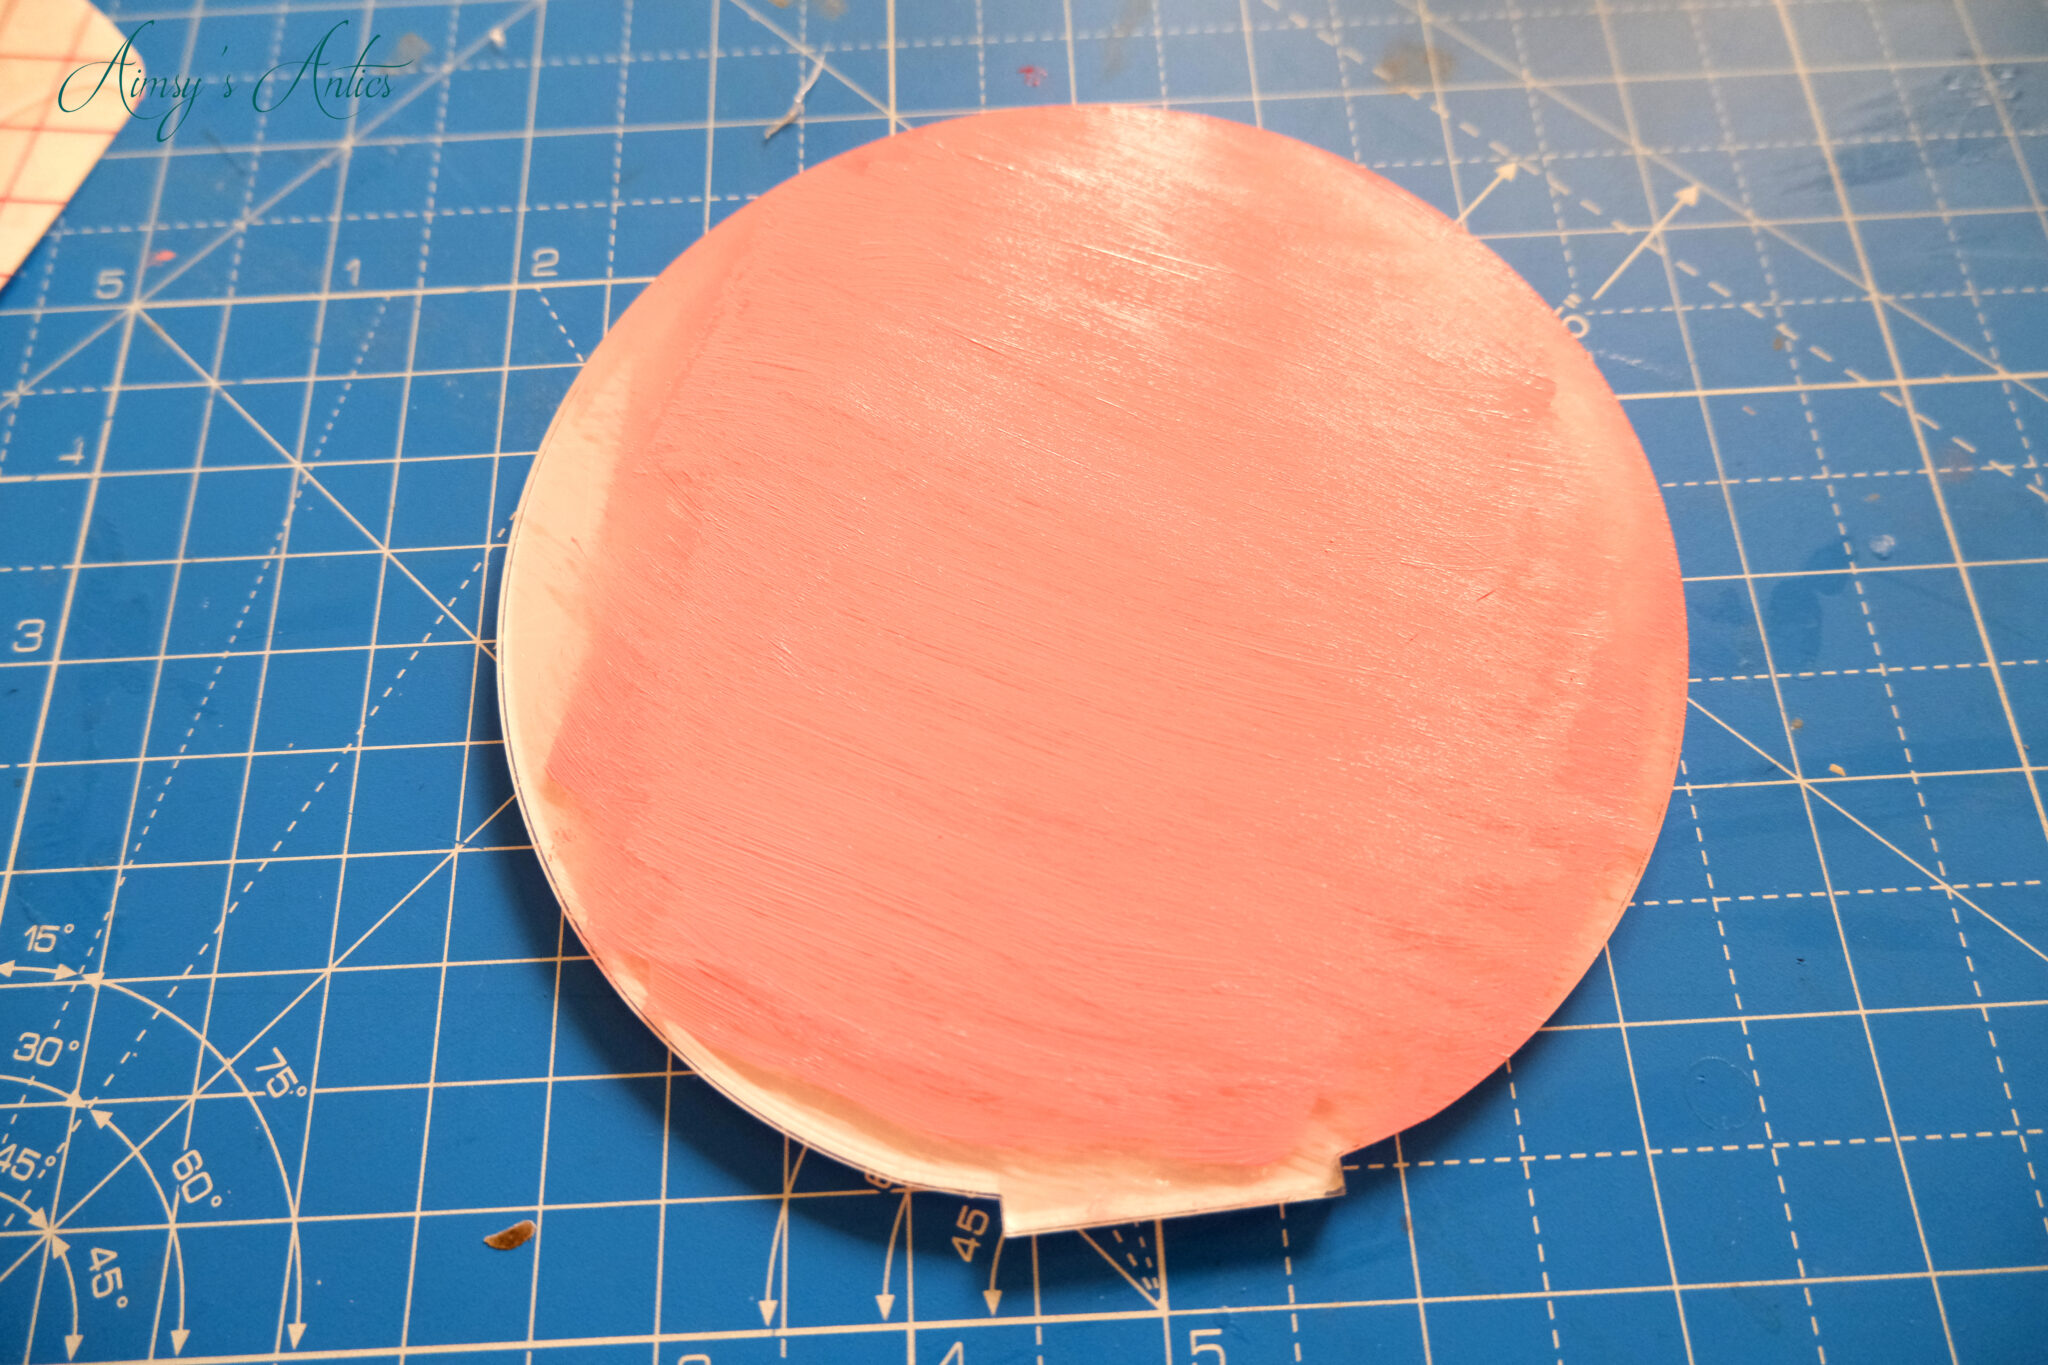
Then using the sponge brushes, dip these into the paint and create a streak across the exposed part of the acrylic. Add as many streaks as you like to cover the sign. Allow to dry and add a further layer of paint if you wish for it to be more opaque. This sign has two layers of acrylic paint. Allow to dry and move onto the vinyl decal part of the sign.
Step 2 – Design the Vinyl Font
This sign has the words “Oh Baby” with a cute little elephant and hearts. Head to the Silhouette Design Studio to create the design.
Set the page layout to the size of the vinyl sheets. For me, this is a 12×12 cutting mat and media.
Draw a circle measuring the diameter of the acrylic sign. For me, this is 14cm x 14cm. Change the line colour to black, and this will be the sign template within the design studio. This part won’t be cut out but is useful to determine the size of the words and graphics on the sign.
Next, write your text in separate text boxes. On this sign, the words “Oh Baby” are the chosen ones. Change the fonts to match whichever style suits the design or theme for the baby shower. I believe the font on this sign is ‘Basyirah Script’, which is a free download on FontBundles. Then resize this to fit where you want inside the sign template.
If you find the font lines are too thin, then you can use the ‘offset’ option to thicken them. I changed my offset to 0.040cm for a slightly thicker line. Select both the font and offset and weld them together to create a slightly thicker font. I also welded the two separate fonts together to get a joined phrase.

Step 3 – Design the Vinyl Graphic
As I am a terrible artist and cannot draw, the image I used was taken from the internet. If you are doing this for selling purposes, then make sure you have the correct permission to use the image.
Trace the image to remove any unwanted background, selecting “trace and detach” to do so. When opening a new image, it will open in a new tab on the software, therefore copy and paste the image onto your working tab with the rest of the sign design.

Re-size the image to make it fit on the acrylic sign template. My image came in two parts, the elephant and a small heart above the trunk. Line these up how you want them. Then, if you want extra detailing on the sign, copy and paste the heart design from the trunk of the elephant. Change up the sizes and play around with the placement of these until you are happy with the design.
Before cutting the vinyl, there is one more thing to do. Change the line and fill colours of the text to match (or as close to) the chosen vinyl colour. Repeat this with the hearts. For the elephant graphic, just change the line colour rather than the fill as well.

Step 4 – Cut and Prepare Vinyl
When the design is complete, it is time to cut out the vinyl. As we have changed the line colours to match, this will make it easier to cut out the design. That is because, on the Silhouette Cameo, you can select to cut out by line colour. Load the corresponding vinyl sheet into the cameo and send the text or image to cut.

When the vinyl is cut out, it is time to weed it. Use a weeding tool to help with this. With text, I find it easier to remove the ‘holes’ first, so the loops of the letters, such as the middle of the letter ‘O’ and the curve of the letter ‘Y’, if that makes sense. Then begin weeding around the outside of the text. I also like to do this in sections so have some small craft scissors on hand to cut down the vinyl. I have had terrible mistakes of the weeding vinyl sticking onto the actual decal and ruining it, so trimming the vinyl as you go can reduce this risk.

Next cut down the transfer tape to size, and apply it over the weeded vinyl. Press down with the scraper tool to adhere the tape to the vinyl, making sure any air bubbles are removed.

Step 5 – Adhere Vinyl
After creating the vinyl and allowing the paint to dry it is time to combine the two. Turn the acrylic sign blank over so the paint is facing the table. Then remove the protective backing to reveal the other side of the acrylic. You will be able to see the paint stroke more clearly now.
Use a mix of water and white vinegar. I used the mix from my DIY cleaning products for this, wiping away with a paper towel. This will make sure the surface is completely clean before adding on the vinyl.
Then, place the vinyl onto the blank sign, but do not remove the backing, making sure you have your design in position before doing so. Lay the text down first, removing the backing and sticking it into place. Use the scraping tool to help this adhere and remove any air bubbles. Repeat the process with the elephant design and extra love hearts. Smooth over to make sure everything has adhered as it should.

Place the blank into the sign base and the baby shower sign is complete and ready for display!


How cute has this turned out?! I love the semi-opaqueness of the paint shining through. What do you think of this DIY baby shower sign? Let me know in the comments below. I hope it has inspired you to get creative.
If you are looking for more Silhouette Cameo 4 projects, then check out How to Layer Heat Transfer Vinyl and DIY Cake Topper for more ideas.
How to Make a Baby Shower Sign | Video
Here is the video version of this post. Don’t forget to give the video a thumbs up if you have enjoyed it, as well as subscribing to my YouTube Channel. It would be wonderful to see you over there!
DIY Baby Shower Sign | Pin it!
If you have enjoyed this post, then why not share the love by pinning it for later?! Also, check out my Pinterest for more creative inspiration!


This is honestly one of the sweetest DIYs I’ve seen in a while! Baby showers can end up being so expensive so this is a great way to make some personal and save some money x
Oh, definitely a great way to save some money and make it more personal! My friend took this home, so hopefully, it will get a new lease of life on display or van as a memory of the shower!
Glad you liked it…I love how it turned out.
Aimsy xoxo
You have a way with DIYs that makes me very jelly! This is beautiful, Aimsy, and I am sure it was very much cherished by the people who received it! I love reading your posts, they make me want to get my hands dirty and create!
Aww, I am glad you like it. Yes, my friend took it home with her after the shower, so hopefully, it brings back good memories of the shower.
Glad you enjoy the posts too… I really enjoy creating them and it makes me happy that it inspires you to get making things too!
Thanks for commenting 🙂
Aimsy xoxo
Oh my goodness this is adorable! I love handmade decorations, however it looks professional!
There is something a bit more special with handmade decorations, isn’t there? Glad you like it, I am so pleased with how it turned out!
Aimsy xoxo
Auwwwww……..are designs are cute and sweet. My BFF is going to have a baby soon. I should design some of these for her. Thank you for sharing.
Aww glad you like it…love how it turned out 🙂 That would be a lovely thing to make for your friend too!
Aimsy xoxo
These are so cute! *baby fever is strong haha* The process looks hard to me since I’m not an artistic type of person but I love the creativity you put into this. Lots of mixed mediums here which is great. Thanks for sharing!!
http://www.lifebeginsattwenty.com
It turned out so well, didn’t it?! Yes, I loved that there were mixed mediums, and it is only a few projects where I have used vinyl. I now want to vinyl everything haha! Glad you like it 🙂
Aimsy xoxo
What a lovely sign to make for a baby shower, it’s adorable! x
Lucy | http://www.lucymary.co.uk
Glad you like it, Lucy! It turned out better than I expected it would.
Aimsy xoxo
Aww, that little elephant is so cute, but the little hearts really pull it all together for me. Love that you used some digital aspects to get this just right in design and the pink backdrop practically glows!
It is delightful seeing plain ingredients turned into something beautiful and rustic and knowing I can create the same magic.
Thanks for sharing!
I love how the hearts tie everything in too! There is just something about the contrast of the materials, isn’t there? The roughness of the paint with the smoothness of the vinyl. We were lucky it was a sunny day, I think the sunshine really helped the sign glow!
Glad you liked it Jaya, and hope it has inspired you. You can use the same method but for different occasions!
Thanks for commenting 🙂
Aimsy xoxo
This is so cute Aimsy! I absolutely love it! Well done!
Glad you like it! I love how it turned out.
Thanks for commenting 🙂
Aimsy xoxo
OMG this is the cutest! These are actually trending right now! I’ve seen lots of table numbers done like this. You make DIY’s so simple. Thanks for sharing, Aimsy xx
Lynn | https://www.lynnmumbingmejia.com
Oh, these types of signs are so adaptable for any occasion, aren’t they? I have seen the wedding signs, and loved them, so thought it would translate well as a baby shower sign too! Glad you liked it, and glad it is easy to follow!
Thanks for commenting 🙂
Aimsy xoxo
This is such an adorable little sign. I can’t believe how relatively simple it is to make.
Glad you like it! It is so simple to recreate, just a little fiddly when designing at first.
Thanks for commenting 🙂
Aimsy xoxo
These are so cute! You make DIY’s so easy and beautiful. l absolutely loved them totally.
Aww thank you. It turned out really cute, didn’t it?
Glad you liked them and thank you for commenting 🙂
Aimsy xoxo
This is so cute and creative! You always have the best DIY’s!
xoxo
Lovely
http://www.mynameislovely.com
Aww, thank you! I just love making stuff haha!
Glad you liked it and thanks for commenting 🙂
Aimsy xoxo
This is SUCH a lovely idea – and perfect for that personal touch at what’s always a very special time. I love that little elephant and the font you’ve used is so pretty. It would make a gorgeous gift as well! x
That’s one of the reasons I made it because we could personalise it to my friend. Her nursery theme is elephants, so hopefully, she can use it as decor for there. If not, hopefully, it is just a nice keepsake for her.
Glad you like it, love a script style font! Thanks for commenting too 🙂
Aimsy xoxo
How creative! You did a lovely job with this.
https://www.missymayification.co.uk
Glad you like it, it turned out so much better than I expected it to
Thanks for commenting 🙂
Aimsy xoxo
This look very beautiful and cute. Thank you for sharing process of making.
New Post – https://www.exclusivebeautydiary.com/2021/05/chanel-n5.html
Aww thank you! It turned out so cute, didn’t it?
Thanks for commenting 🙂
Aimsy xoxo
This is too cute!! Love it so much and thanks so much for sharing x
http://adventuresinmay.blogspot.com
Glad you like it! It turned out so cute!
Thanks for commenting 🙂
That looks so lovely, it is adorable!
Danielle | thereluctantblogger.co.uk
Thank you, glad you like it. Turned out super adorable and cute, didn’t it?
Thanks for commenting 🙂
Aimsy xoxo
This is one of the cutest things I have seen in a while! I feel like everyone is having babies at the moment and this is the perfect DIY gift idea to share with them. I love how easy it looks to make. I deffinitly need to invest in the Cameo 4 as I really want to make this! Em x
It turned out so cute, didn’t it?! I am so glad that I invested in this machine, there is so much you can make on it, and I have a few more projects planned! I know, it seems everyone is having a baby at the minute, so perfect timing to make a cute DIY gift for them haha!
Thanks for commenting 🙂
Aimsy xoxo