

I am back with another beauty DIY today and one that mixes food with beauty. I will show you how to make DIY cupcake soap, complete with whipped frosting, using a melt and pour soap base. A super cute and easy beauty DIY!
This DIY cupcake soap is just delightful, and add a bit of charm to your bathroom. Especially if you are a lover of cake like me. They also make the perfect gift for the cupcake lover too.
They are a really easy soapmaking project, and similar to how you make layered soap. The trickiest part is probably the whipped soap frosting, but it is still pretty easy to complete. Also if it doesn’t quite go as planned, like mine, it is easy to rectify too.

So, if you would like to see how to may your own DIY cupcake soap, then let’s get crafting and jump straight into the DIY.
DIY Cupcake Soap
This project is broken into two halves, the cupcake soap base and the whipped soap frosting. I’ll show you how to make the soap first and then move onto the frosting. What is good, is you can use the whipped frosting on other beauty makes, or as a whipped soap in a pot.
What you need:
To make the DIY cupcake soap you will need the following items. Some items on this list are affiliate links, which means I will make a small amount of commission should you make a purchase through the link. These will be marked with an asterisk (*), and will be at no extra cost to you.
It should be noted that fragrance oils can change the colour of soap, especially if they contain vanilla. The fragrance oil used in this project does this, so over time the soap base will darken and turn a golden brown shade. This is handy if you are wanting a brown shade, but not so much if you want to keep the soap light and creamy colour. There are fragrance stabilisers that can be used, but I have no experience with using these, so can’t fully advise on their use.
- 250g Melt and Pour Soap Base*
- Soap colourant
- ‘Birthday Cake’ fragrance oil – this is the one I used.
- Rubbing alcohol/ Isopropyl Alcohol* in a spray bottle
You will also need:
- Microwavable safe jug
- Round silicone cake/soap mould*
- Pipette

Step 1 – Make the Cupcake soap
To make the cupcake soap, we are going to have to layer several layers of the melt and pour soap.
Start by melting down 100g of the melt and pour soap base. I do this in a microwavable safe jug on bursts of 30 seconds at a time in the microwave.
Once this has melted down, it is time to add in the fragrance oil. The fragrance oil of choice is called ‘Birthday cake’ by Craftovator. This is a delightful scent, that is sweet and scrummy and has a strawberry laces type of scent to it. Perfect for the cupcake soap theme. Use a pipette and measure 1ml of the fragrance oil. This makes it skin safe and equates to 1% of the total weightage of the layer of soap.
With any beauty DIY, the amount of fragrance or essential oil has to be skin safe for it to be safely used on the skin. You take the whole weight of the soap and work out 1% of this. Then you either add this in either by millilitres or grams.
Mix the fragrance oil into the melted soap base. Then use a yellow soap colouring and add a small amount to turn the white soap base a slightly creamy number. Again, mix this in thoroughly until the desired shade.

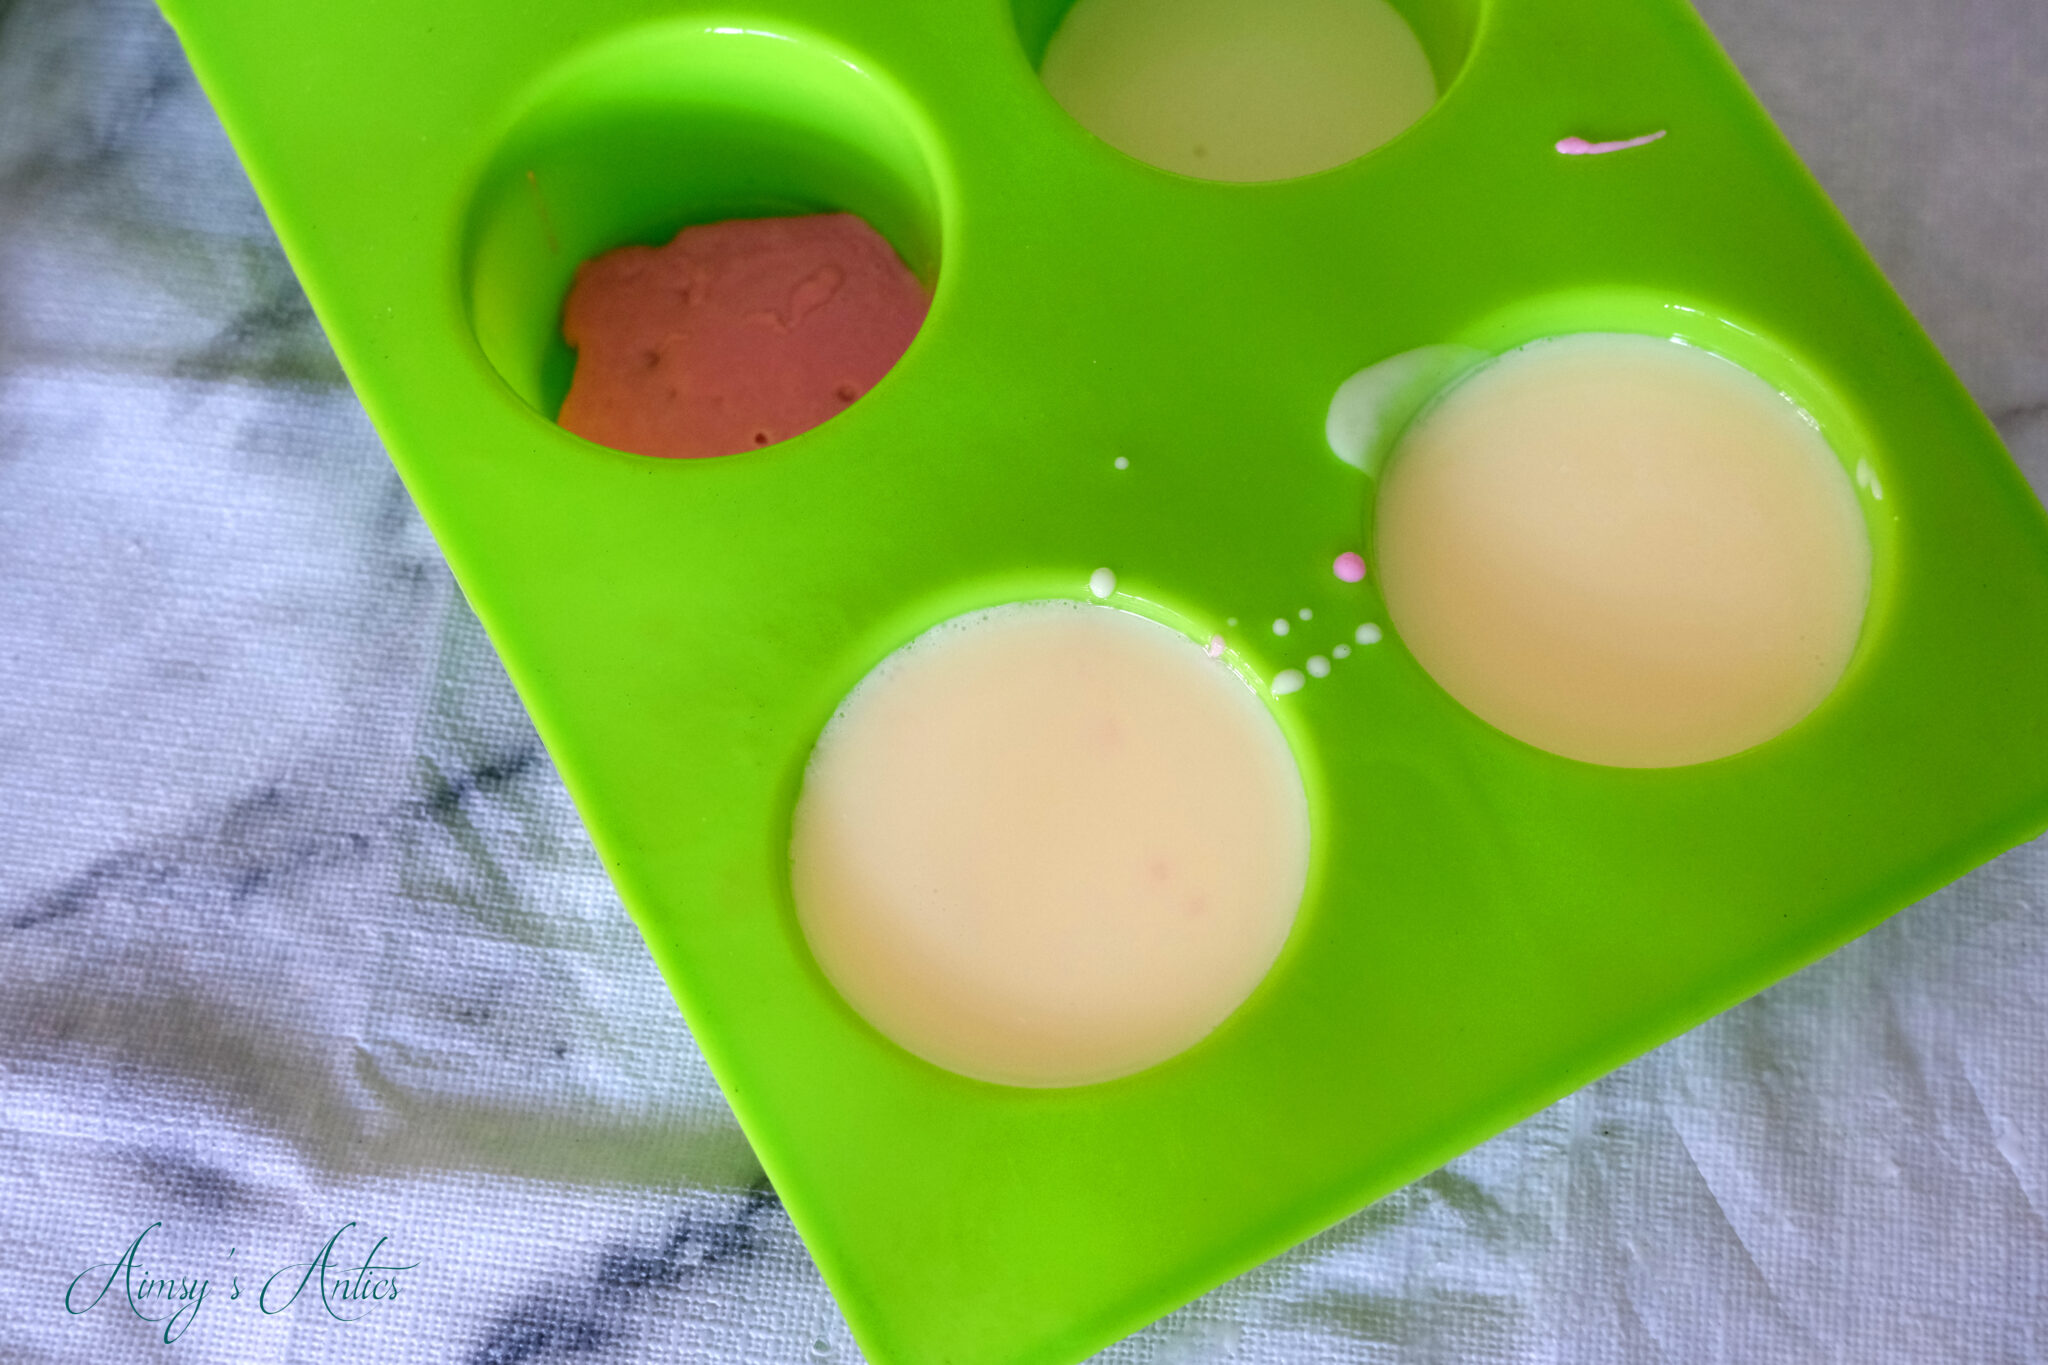
When ready, pour this into the round mould, filling it slightly less than half full. This should make you two of the round moulds, with some extra. Any extra, place it into a spare mould for later. Then spritz the soap with the isopropyl alcohol to remove any air bubbles that may have formed. Allow the soap to harden and set before moving onto the next layer.

Step 2 – Make the middle layer
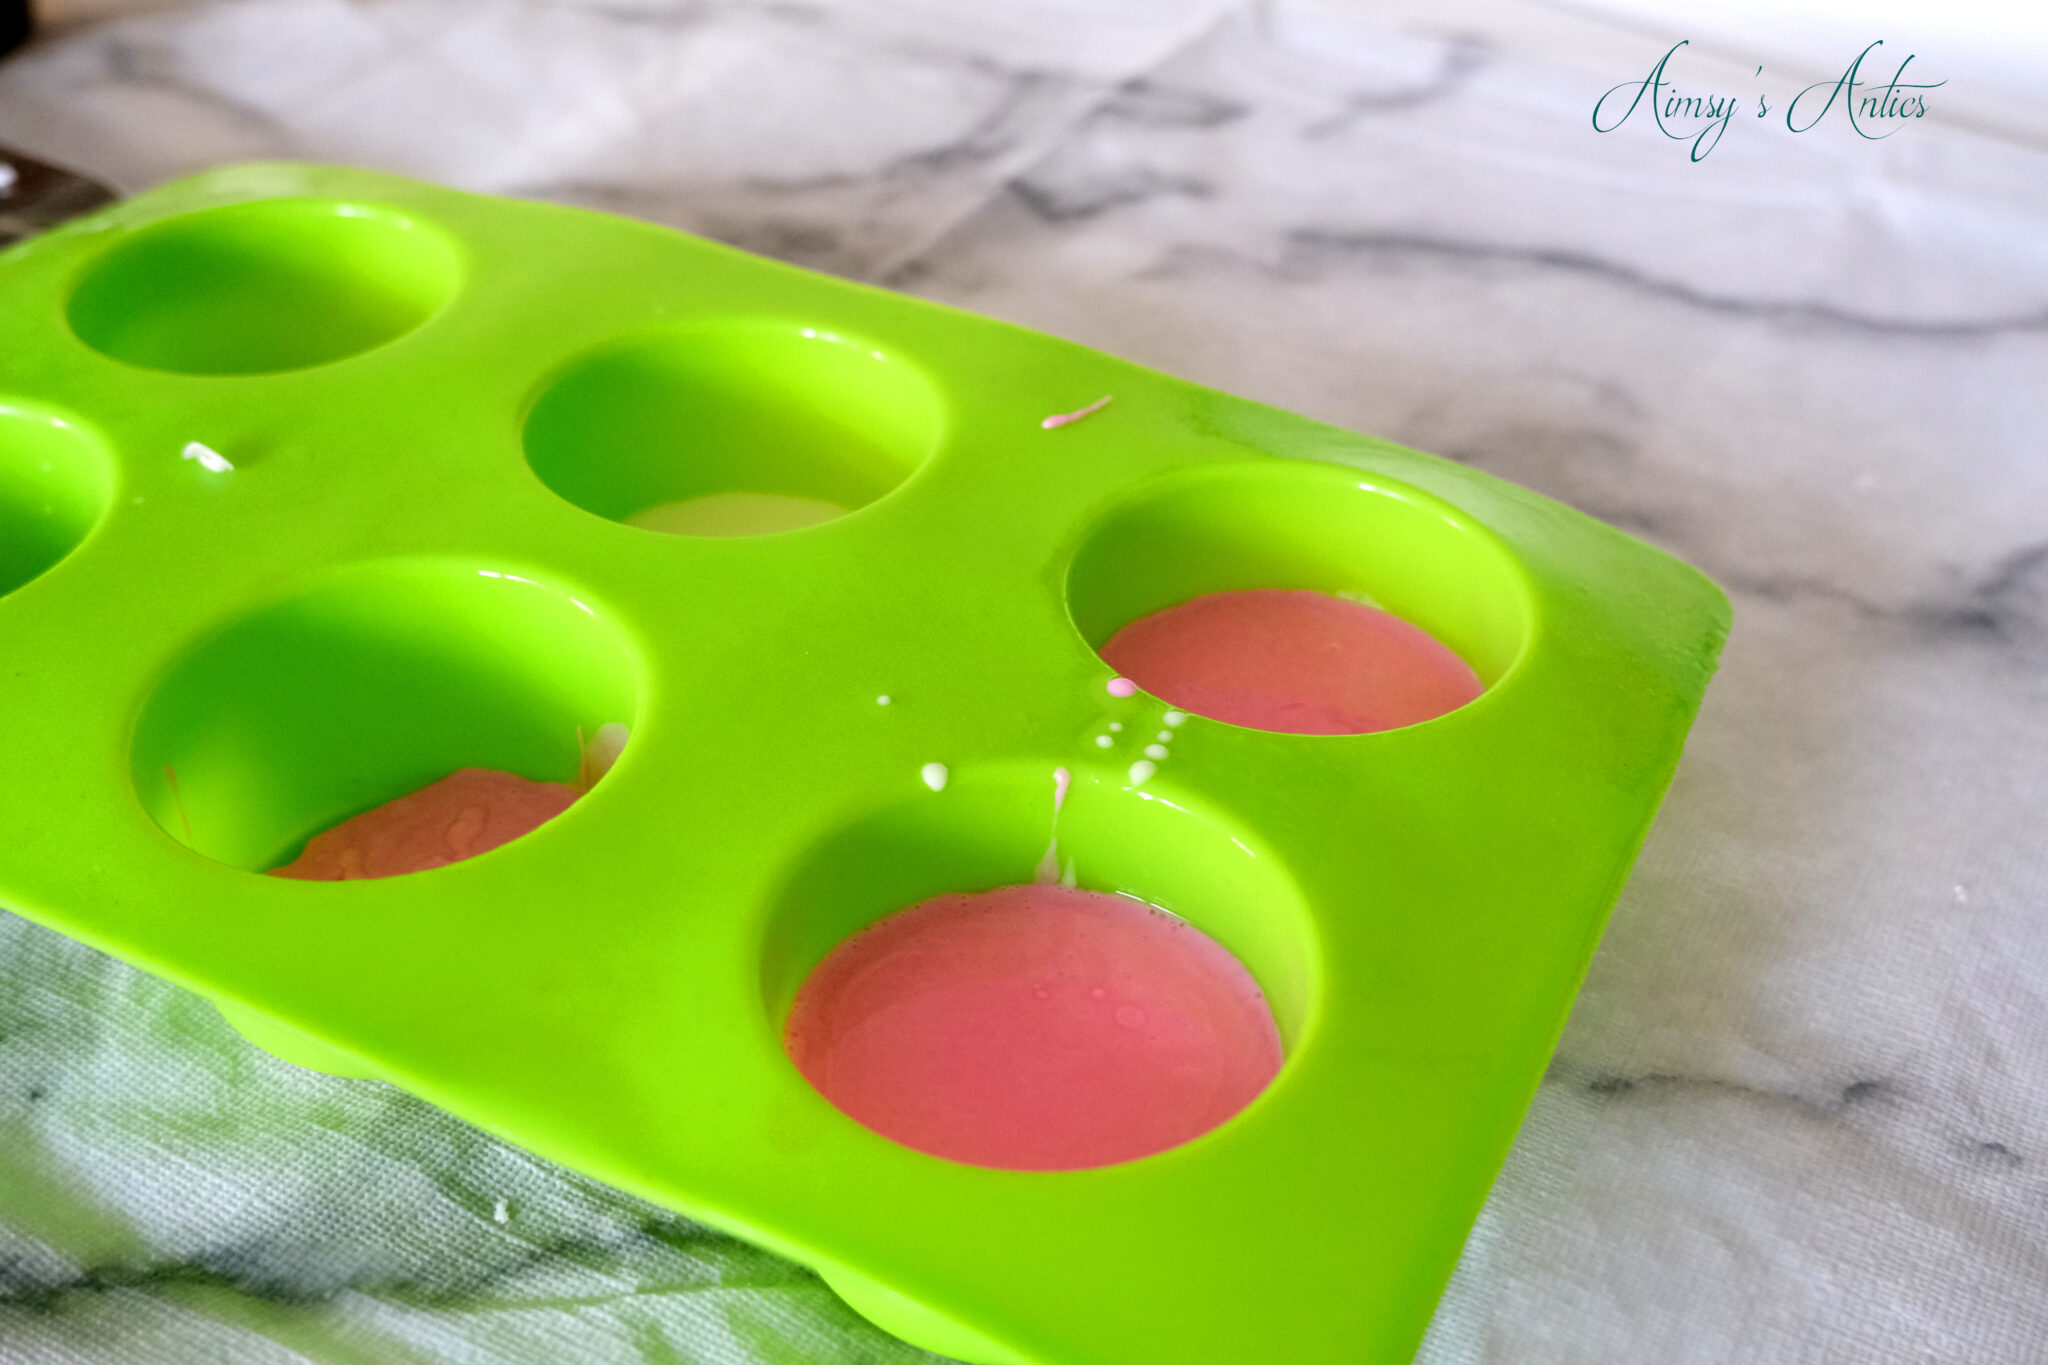
When the bottom layer looks to be setting and has a film forming on the top, then it is time to start making the middle layer. This layer will represent the jam or filling that you see in the middle of a cake. Think Victoria sponge cake!
This time, we need a smaller batch of the melt and pour soap. Therefore measure out 50g of the melt and pour soap base, and melt this down like in step 1. When the base has melted it is time to add a bit more of the fragrance oil. This time add in 0.5ml of the fragrance using a pipette and mix it into the base.
Next, it is time to add a different soap colour for the filling. I have gone for a pink/red colour for mine, but you could add whatever colour you like. Mix this in thoroughly.

Making sure the bottom layer of soap in the mould is set, pour the next layer. This will be a smaller amount, so spread it over until you are happy with the layer thickness. Again any leftover, place in a spare mould to be used for later. Finish off by spritzing the layer with isopropyl alcohol.
Allow the layer to set, and then repeat step one to add the final cupcake layer to the soap.
Step 3 – Un-mould the cupcake soap
When the soap layers have hardened, they can be removed from the mould. They should pop out fairly easily due to the silicone mould. Admire your lovely layers of the cupcake soap and move onto the step of making the whipped soap frosting.
You can leave the soap in the mould for a bit longer, however it is easier to add the frosting when the soap has been unmoulded. What is good about the melt and pour soap, is you don’t have to let it cure like you would cold process soap. This makes it perfect for starting out in soap making before moving onto the more complicated version of cold process soap.

Whipped Soap Frosting Topping
This part adds the final touches to the DIY cupcake soap and gives it that lovely frosting on top effect. This recipe has been adapted from the blog Shrimp Salad Circus.
You will need more items than the cupcake soap bases. Again, some of these links are affiliate links and will be marked with an asterisk (*).
- 95g whipped cosmetic soap base*
- 32g melt and pour soap base*
- 17g liquid vegetable glycerin*
- 17g Cornflour
- 5g Polysorbate 80*
- ‘Birthday Cake’ Fragrance Oil
You will also need:
- Large Mixing bowl
- Electric hand whisk – make sure you only use for cosmetics and not food
- Piping bag
- Closed star piping tip
- Grater
- Pipette

Step 1 – Create the Whipped soap Frosting Base
In the mixing bowl, add in the whipped soap base and the liquid glycerine. Begin whisking at a low speed with the electric hand whisk until it begins to thicken and look slightly fluffy.
Then it is time to add in the fragrance oil. For this part of the soap, you want to add in 1.5ml of the same ‘Birthday Cake’ fragrance oil. Again, this makes it skin safe.
Use the electric hand whisk again, and mix the fragrance oil in, until the mixture appears fluffy. It will start resembling whipped frosting.
Next it is time to add in the cornflour. Mix this in slightly by hand before using the hand whisk to fully combine. By mixing it in slightly first, this will stop the cornflour from going everywhere!
Set this bowl aside for now whilst moving onto the next step.

Step 2 – Add in melt and pour
Measure out the melt and pour soap base and melt it in the microwave in 30-second bursts. When this is melted, add in the polysorbate 80. This will thicken the soap base slightly, and allow it to disperse well through water.
Mix this in thoroughly. You may notice the melt and pour cooling and setting up, so you have to work quickly now. Add the mixture to the whipped base and whisk this at a high speed with the electric hand whisk. You will notice the mixture thickening. Keep whisking until meringue style peaks form.


You can add soap colour in at this point too, if you want a coloured frosting. I left mine the creaming white.
Step 3 – Pipe onto the DIY cupcake soap
When the mixture is ready, it is time to put it onto the waiting cupcake soap bases.
Use a piping bag to do this with a closed star piping to pipe the frosting. This is where I had a bit of a disaster, which is why I am telling you to work quickly once the melt and pour is added.

Hopefully, the mixture is still runny enough to be pipeable 🤞. Gently pipe the whipped frosting onto the cupcake soap base. Starting on one edge and working your way around in a spiral.
Mine decided to begin hardening in the piping bag, which made it near on impossible to pipe, with the tip becoming blocked. Therefore I resulted in spooning the mixture on and fluffing this with the back of the spoon. This gives the frosting a bit of height and texture. So, it is rectifiable, but maybe not the desired method or look.

Step 4 – Add on embellishments
What cupcake isn’t complete without some form of sprinkles? Remember the thin layer of soaps that were left over? Well now, it is time to use them.
Use the grater and begin grating down the soap. This should give you the look of chocolate shards, and even sprinkles. I did this with both the creaming colour and the pink colour.

Sprinkle these on top of the frosting, pushing them in slightly so that they adhere.
Allow the frosting to harden slightly, it should form a crust. If it hasn’t then, more cornflour may be needed in the next batch of frosting. Mine didn’t fully harden but lathered up beautifully when using the soap.
Then the DIY cupcake soap is complete and ready to use or give away as gifts!


What do you think of the DIY cupcake soaps? Will you be giving this beauty project a go? Let me know in the comments below!
If this has piqued your interest in making food-related soap items, then why not check out how to make sushi soap too?
DIY Cupcake Soap – Video
Here is the video version of this post. Sometimes watching the process can be easier to understand than words and pictures. Whichever method works best for you, I hope both inspire you to get creative and crafty. If you enjoy the video, then don’t forget to give it a thumbs up and subscribe to my channel. I would love to see you over on YouTube too!
Pin it!
If you have enjoyed this post, then why not share the love. You can find the social media sharing icons, or pin for later. Don’t forget to check out my Pinterest for more creative inspiration too!


I adore bath and these cupcake soap look amazing. Thank you for sharing how you made them, I will try recreate it.
New Post – https://www.exclusivebeautydiary.com/2021/04/guerlain-shalimar.html
Glad you like them. They turned out so cute, didn’t they? Would love to see how yours turn out if you do have a go at making!
Thanks for commenting 🙂
Aimsy xoxo
Aimsy these look adorable – and even simple enough for me to attempt! Need to gather the ingredients, I always wanted to try and make fancy soaps and this is my signal x
Glad you like them…they turned out great didn’t they? (even when they turned a darker brown shade a few weeks later) Melt and pour soap is a great way to try out making your own soaps, especially making them cute like these!
Thanks for commenting 🙂
Aimsy xoxo
Oh wow!!!!!!! That cupcake soap look so pretty. I’m sure it smells good also. Thank you for sharing.
Glad you like it! It smells so sweet and just delicious haha!
Thanks for commenting 🙂
Aimsy xoxo
What a beautiful DIY project! Any girl or woman would love to receive a cupcake soap! Thanks for sharing.
Glad you like it. I have made a few as gifts like this, and they are always greatly received!
Thanks for commenting 🙂
Aimsy xoxo
This is the cutest thing ever! I love your step by step guide and the final product x
Glad you like them…so cute, aren’t they?!
Thanks for commenting 🙂
Aimsy xoxo
How cute are these cupcakes?! I’d love to make these soap cupcakes for myself! x
Lucy | http://www.lucymary.co.uk
They are so cute, aren’t they? They look beautiful in the bathroom and smell so good!
Thanks for commenting 🙂
Aimsy xoxo
Wow this looks lovely and so fun to make. I definitely want to try and recreate these, adding them to pamper hampers for family members.
Glad you like them…something a bit different to make. Oh, they would look lovely in a pamper hamper. I placed mine in little cupcake boxes for an extra touch…just add a warning that it is soap and not a yummy cake haha!
Thanks for commenting 🙂
Aimsy xoxo
What a cute little DIY! I love making soaps and candles, but am not very creative when it comes to the design. I like how you layered the soap like a real cake. It looks so cute! I didn’t realise you could get birthday cake scented oil so I know what I am investing in next!
Em x
They are so cute, aren’t they? Me too, there is just something therapeutic about making them isn’t there? Maybe it is the fragrance?!
Oh, there is a world of fragrances you can get that resemble food items as well as dupes of popular perfumes.
Hope you enjoy the fragrance oil if you do purchase, and making your own cupcake soaps!
Thanks for commenting Em!
Aimsy xoxo
How cute are these! This would be a fun project!
xoxo
Lovely
http://www.mynameislovely.com
They turned out great, didn’t they? Definitely fun to make. Glad you liked it!
Thanks for commenting 🙂
Aimsy xoxo
These are so cute, Aimsy! But my problem is I wouldn’t want to use them, they’re too pretty to spoil, haha. Actually, I really like the spooned on effect of the frosting, it reminds me of a meringue, which is always a good thing 🙂
Glad you like them, Lisa! Oh, I know, we resited for a while before taking the plunge and using it.
Yeah, it does look like meringue…something to work on piping the soap, but I liked the rustic look of the spooned on look too haha.
Thanks for commenting 🙂
Aimsy xoxo
These are so cute!!! I bought some soap molds & I was wanting to make cupcakes with a whipped frosting, but I had no idea how to do the frosting with melt & pour so your post came at a good time! It’s good to know that there’s a whipped soap base I can combine with the melt & pour!
Aww thank you, they turned out great, didn’t they? Hope your whipped frosting comes out great. This one stays a little wet, rather than hardening, but I think adding a bit of extra cornflour might help firm it up more.
You will have to tell me how it turns out!
Thanks for commenting 🙂
Aimsy xoxo
Thanks for the tip! I’ll definitely let you know & I may write a blog post as well about it haha
Ooo, can’t wait to see it, if you do!
Aimsy xoxo
Oh my goodness! These look super cute. The added whipped frosting on top brings the whole thing together. Wonderful tutorial babe! x
Lynn | https://www.lynnmumbingmejia.com
The whipped frosting definitely brings it all together, doesn’t it? Love how they turned out, need to make some more as it is nearly all used up!
Thanks for commenting 🙂
Aimsy xoxo
This is such a cute idea! This would make a good sleepover activity for tweens! Thanks for sharing!
This would be a perfect sleepover activity! I would have loved something like this when I was younger.
Glad you like them 🙂
Aimsy xoxo
This is such a fun DIY project – I need to give it a go!
Molly xx
https://volumesofbeauty.com
Glad you like it. You will have to let me know hoe it turns out if you do make it 🙂
Thanks for commenting 🙂
Aimsy xoxo
These are gorgeous! A very impressive gift
XX Angelica
https://eraenvogue.com
Glad you like them! Definitely make a great gift 🙂
Aimsy xoxo
They look so cute. I would want to have a cupcake each time I saw it though!
Danielle | thereluctantblogger.co.uk
Glad you like them. Oh, I know it does make you want to eat one haha!
Thanks for commenting 🙂
Aimsy xoxo
This looks great and I think it’s something my niece would enjoy helping me make 🙂
Glad you like it. Yes, perfect for your niece to join in with. I know my niece enjoyed using it.
Thanks for commenting 🙂
Aimsy xoxo