

Looking for an effective piece of home décor, that is relaxing to create? Well, I have the perfect craft kit DIY project with this DIY dried flower terrarium kit that will look stunning in your home.
Cast your mind back to last week where I showcased five UK Etsy craft kits that you have to try out. Well, today, I am showing you the process of putting one of these together, with the kit of choice being the DIY dried flower terrarium.
Not only is this a beautiful piece of décor to have once complete, but it is really easy and relaxing to put together. To colours just pop and using dried flowers is a great alternative to the usual succulent/air plant style terrariums.

DIY Dried Flower Terrarium Kit
This beautiful craft kit is by House of Moss, which sell a variety of terrarium kits, including this DIY dried flower terrarium.
The kits costs:
£25 for the kit
£3.75 delivery
Total – £28.75
The kit includes:
- Glass terrarium globe with flat bottom
- Sand in either white or neutral
- Miniature gemstones
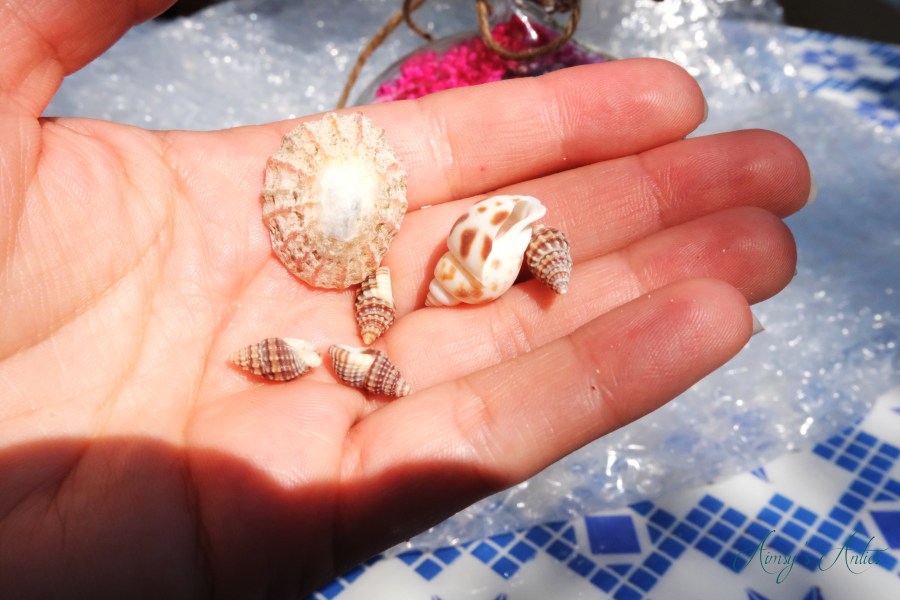
- Shells
- Dried flowers and grasses

Now that you know about how much the kit costs and what is included, then it is time to put it together!
Step 1 – Add Sand
The first step to complete is to add the sand to the glass terrarium globe. Initially, I was going to use a spoon to place the sand into the globe, however, I found that it was quicker and easier to turn the globe on the side so the opening is facing up. Then just pour the sand into the opening.
Shake the globe slightly and gently to get the sand onto the bottom of the globe. Any sand stuck to the back of the glass can then be gently tapped, or use the plastic spoon to scrape down onto the rest of the sand.
The sand I am using is white sand rather than natural colour sand.

Step 2 – Add Gemstones
The kit comes with lots of mini gemstones to decorate the bottom of the globe. This is where you can get creative with the design. I opted to spread the gemstones all over the top of the sand, however, you can also group them in patches or to one side. The possibilities are endless.
Now getting the little gemstones into the terrarium glob can be a little tricky as the opening is only small. I selected a few at a time and tried to gently place them in. For gemstones closer to the back of the terrarium and gently threw them in, making sure that I didn’t hit the glass at the back. Using small tweezers is another great way to reposition them into place.

Step 3 – Add Dried Flowers
Now, these are the main focal point for the DIY dried flower terrarium, the dried flowers of course! These come in a bunch, secured in place with a small elastic band. However, I found that you couldn’t just place these into the globe like this. Some stems are a bit larger than the height of the terrarium, and therefore may require cutting down, or pushing deep into the sand.
I split the flowers into their individual groups and placed a few stems into the terrarium at a time. This way I was able to put them into the place where I wanted them to be with little damage to the dried flowers. Again, tweezers are a great tool to use as it helps with the precision.
Keep adding the dried flowers in sections wherever you like them to be. I decided to add them all for a fuller look, however, you could add as little or as much as you like.
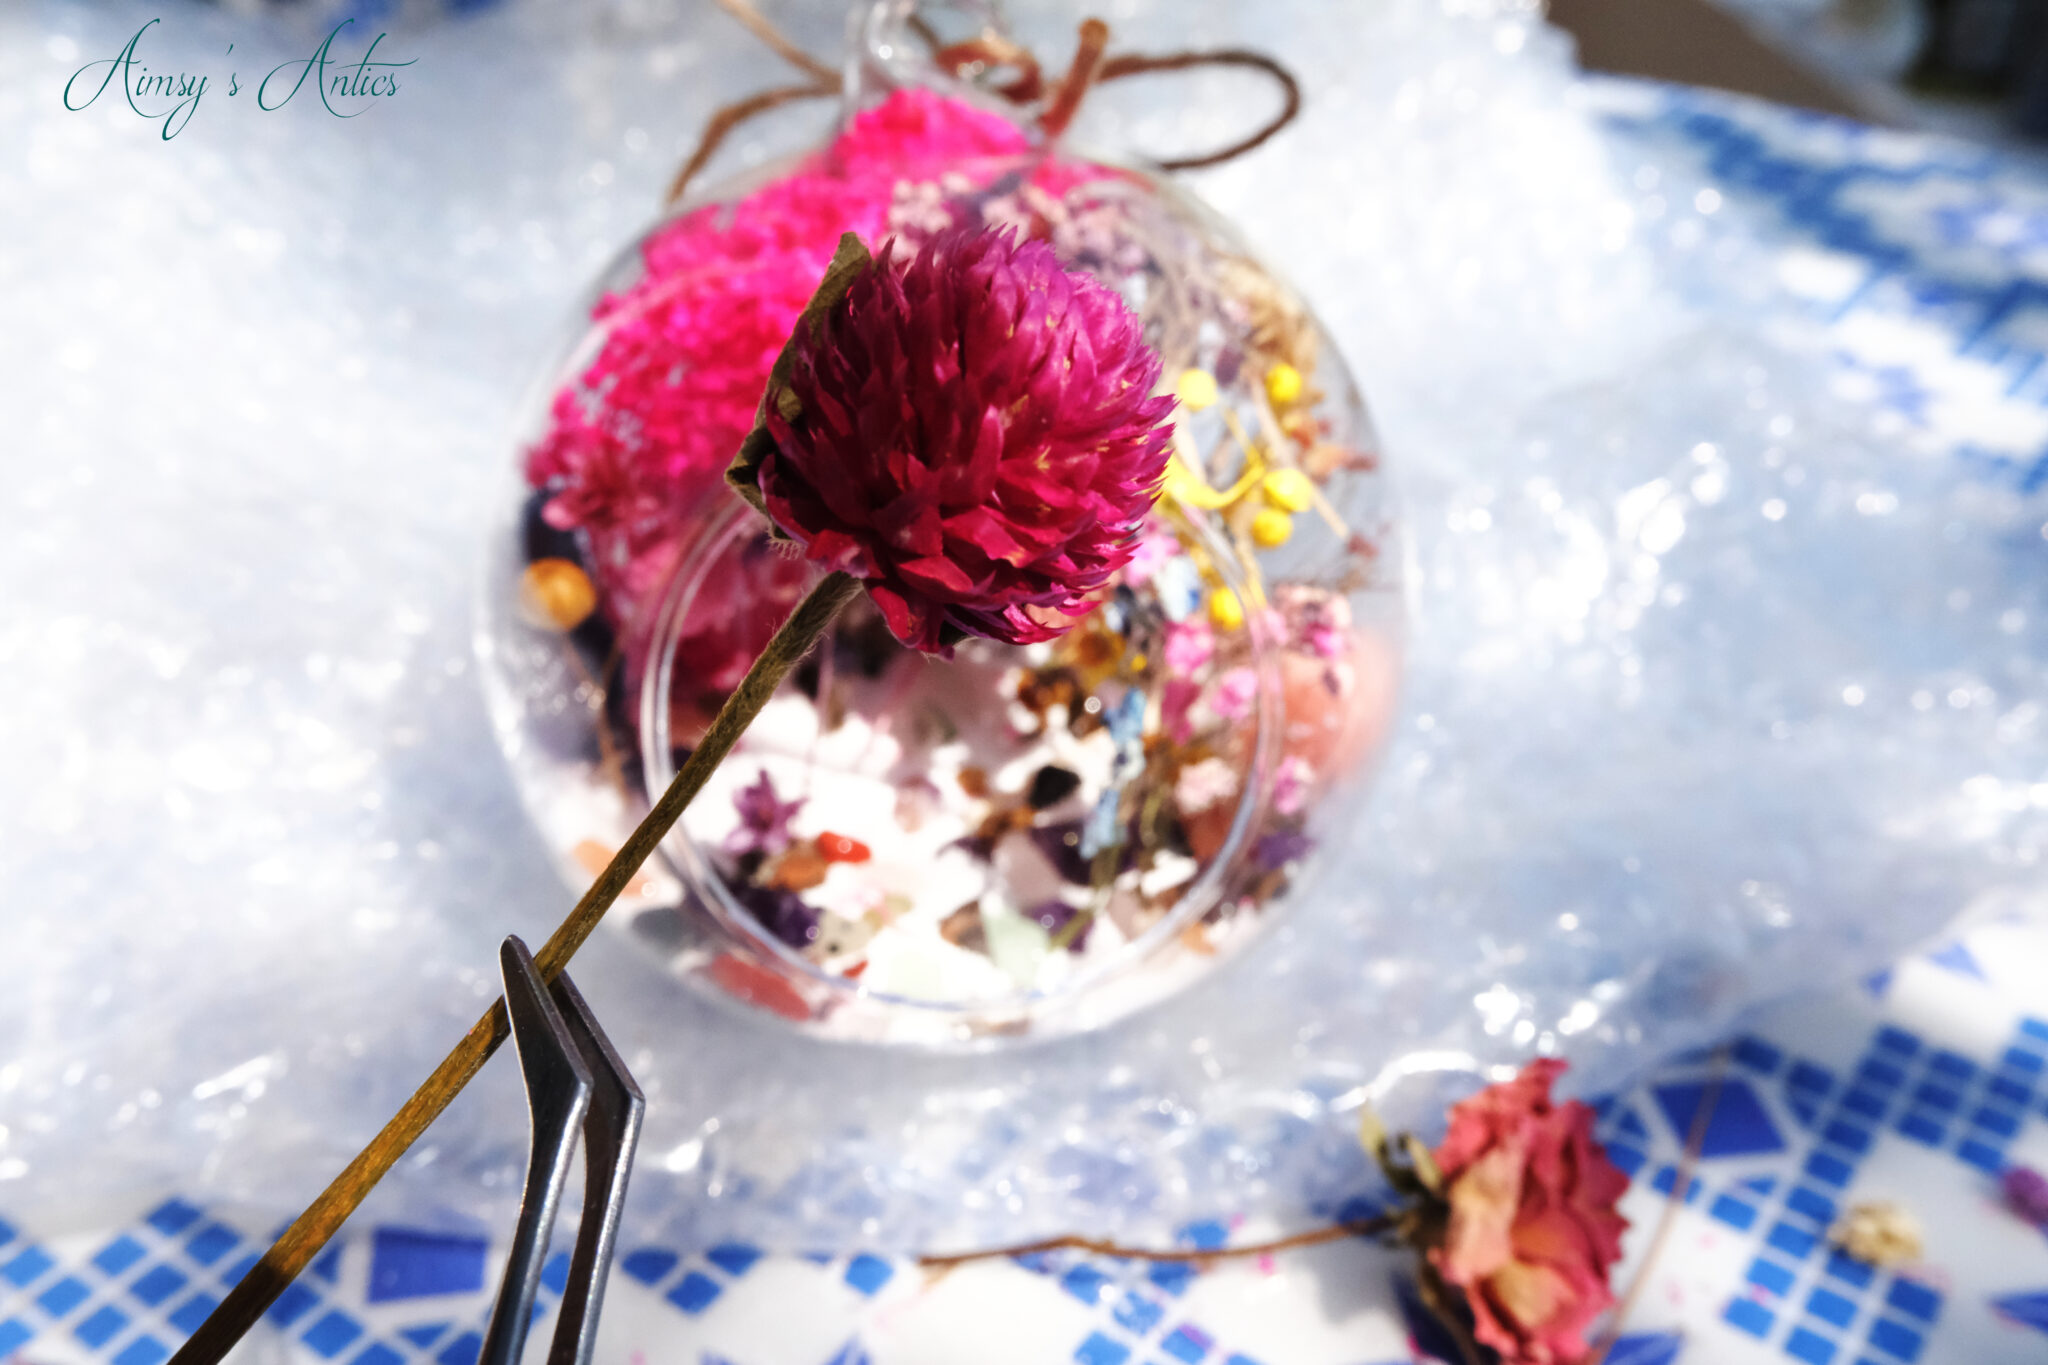
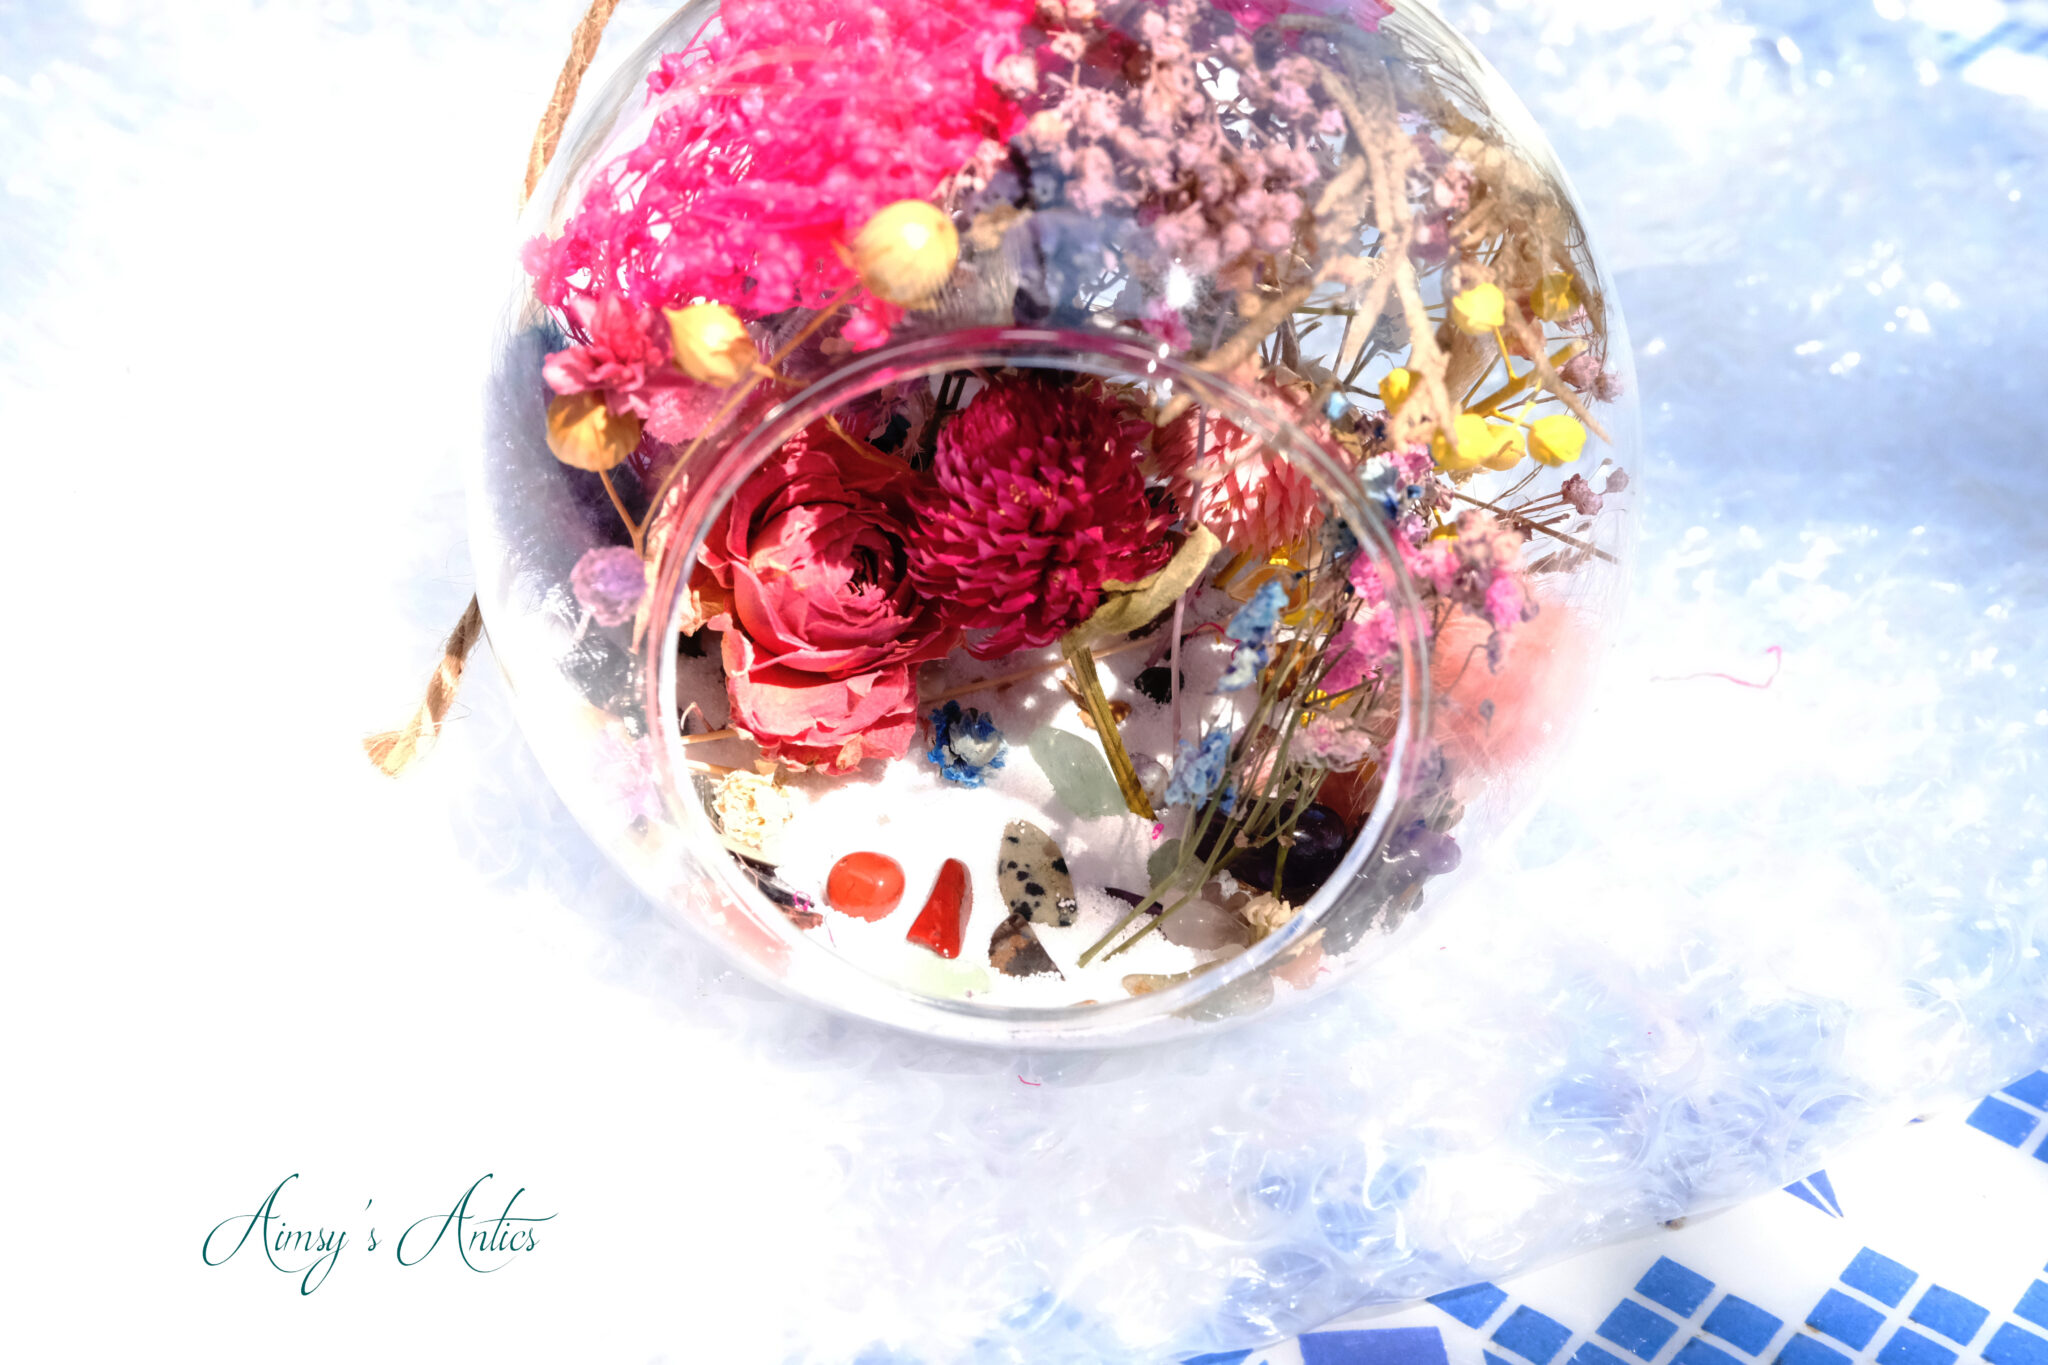
Step 4 – Add Shells and Larger Gemstone
The final step to making the DIY dried flower terrarium is to add in the small shells. Again, place wherever you like and where you feel they look most effective. I liked the look of the shells towards the front of the terrarium globe, as well as slightly to the side. You do not need tools for this bit, placing the shells in by hand.
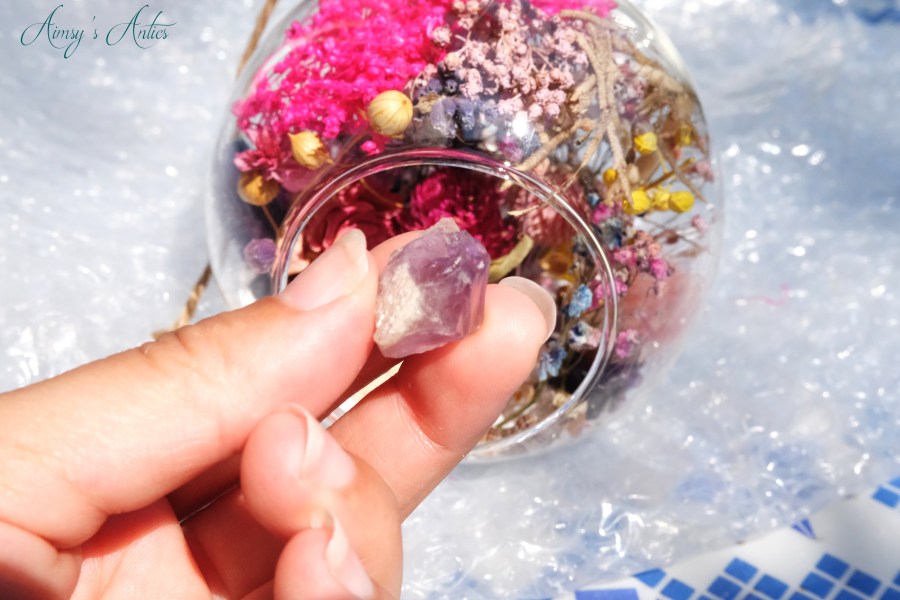
Finally in the pack is a larger Amethyst gemstone, which I think needs to take centre stage. Therefore I place this at the front centre of the globe. This way it can be seen when looking through the opening.
Once this is added then the DIY dried flower terrarium is complete. It is now ready to look pretty wherever you choose to display it. Do not use the hanging tip to display though. This part of the globe is very delicate and may break if hung.


What do you think of this craft kit? Will you be looking at making a DIY dried flower terrarium?
For more DIY decor inspiration, why not check out these past posts – DIY Tin Can Planters, DIY Summer Wreath and DIY Wall Art!
DIY Dried Flower Terrarium Video
Here is the video version of this post for a more in-depth look into each of the wonderful craft kits. Don’t forget to like the video if you have enjoyed it, and why not subscribe to my channel to keep up with all of my creative and crafty antics on YouTube.
DIY Dried Flower Terrarium – Share it!
If you have enjoyed this post, then why not share the love by sharing it or pinning it? You can also check out my Pinterest for more creative inspiration too!
Have a creative project in mind, but don’t know how to plan it? I have you covered with a FREE creative project planner when you sign up to my email list. Grab yours now!


I love the sound of this kit, what a brilliant idea to get creative xx
Glad you like it. Simple, yet so effective!
Thanks for commenting 🙂
Aimsy xoxo
This looks amazing and so easy to make! Definitely going to give it a go xx
Glad you like it. I love that it is simple to do, but looks so striking on my shelf.
Have fun creating yours and thanks for commenting 🙂
Aimsy xoxo
This is so creative — I love how it looks! Thanks for sharing this as I enjoy projects like this.
Thank you and glad you like it! It is simple yet so effective, isn’t it?
Thanks for commenting 🙂
Aimsy xoxo
Wow, this looks absolutely amazing! I love that you’ve made it yourself as well, the colour really adds to it and makes it pop. I love Terrariums so this is a DIY project I definitely want to try. Thank you so much for sharing, bookmarking your post for future.
Glad you like it. It is a great twist on the traditional terrarium, isn’t it? I love that everything is included in the kit and it is fairly simple to put together, in whatever style you want it to be.
Have fun making your own in the future and thank you for commenting 🙂
Aimsy xoxo
This looks beautiful and has come at the perfect time. My nan had one of these but due to her dementia, she’s taken it apart. I had no idea how to recreate it but thanks to this helpful post, now I do.
Thank you and glad you like how it turned out! Aww, bless her. You might be able to put it back together, together, but it is fiddly to do in parts! Hope you can get it back into one piece.
Thanks for commenting 🙂
Aimsy xoxo
This looks so beautiful. What a great DIY craft. Thank you for sharing how you can do this.
Lauren
Thank you and glad you like it!
Aimsy xoxo
You did a great job! The terrarium turned beautiful!
xoxo
Lovely
http://www.mynameislovely.com
Thank you, I am glad you like it. It looks lovely on my shelf!
Thanks for commenting 🙂
Aimsy xoxo
This is such a beautiful project! Wonderful Post! Have a great day!
Rampdiary | Fineartandyou | Beautyandfashionfreaks
Aww thank you. I am glad that you like it!
Thanks for commenting 🙂
Aimsy xoxo
This is so gorgeous….thanks for sharing dear 🙂
Beauty and Fashion/Rampdiary/Glamansion
Glad you like it!
Thanks for commenting 🙂
Aimsy xoxo
These are so beautiful. I am loving the pictures and the idea itself as well. Thank you so much for sharing the details of this project. Lots of love!
Aww thank you, I tried my best with taking the photos to capture the beauty of it!
Glad you like it and thank you for commenting 🙂
Aimsy xoxo
This turned out beautifully! It would make a craft gift idea too 🙂 x
Aww thank you, I’m glad you like how it turned out! It would make a great gift!
Thanks for commenting 🙂
Aimsy xoxo
This project is the cutest! I could see myself giving this as a present to my girlfriends for Christmas this year. I love dried flowers and this terrarium displays them so beautifully! Thanks for sharing, Aimsy x
Lynn | https://www.lynnmumbingmejia.com
Aww, thanks Lynn and I am glad that you like it! It would make a lovely present, especially if it is in their favourite colours!
Thanks for commenting 🙂
Aimsy xoxo
This is such a beautiful idea! I’ve seen terrariums before but never with dried flowers – I really like this! 🙂 Thanks for sharing 🙂
Hope you are having a nice weekend 🙂 Quiet one here, with lockdown!
I’m glad that you like it. This is the first time I have seen it with dried flowers, and I love how it looks!
Thanks for commenting 🙂
Had a lovely weekend, and now preparing for a week away with the family, so next week will be busy but lovely!
Hope you have a lovely week ahead!
Aimsy xoxo
That is such a lovely item!
Danielle | thereluctantblogger.co.uk
Thank you, I love how it turned out!
Thanks for commenting 🙂
Aimsy xoxo
This looks really cute and I suppose if you found smaller ones, you could make some cute Christmas tree decorations out of it. Thank you for sharing this DIY, it’s really sweet and I’ve only ever seen ones with succulents in! Em x
Oh, this would be perfect for Christmas decorations. I guess you could always make the smaller trees from bottle brushes?
I love that it is different from the succulents too.
Thanks for commenting 🙂
Aimsy xoxo